Max Lamb’s ‘DIY Baby Chair’

Max Lamb’s ‘DIY Baby Chair’

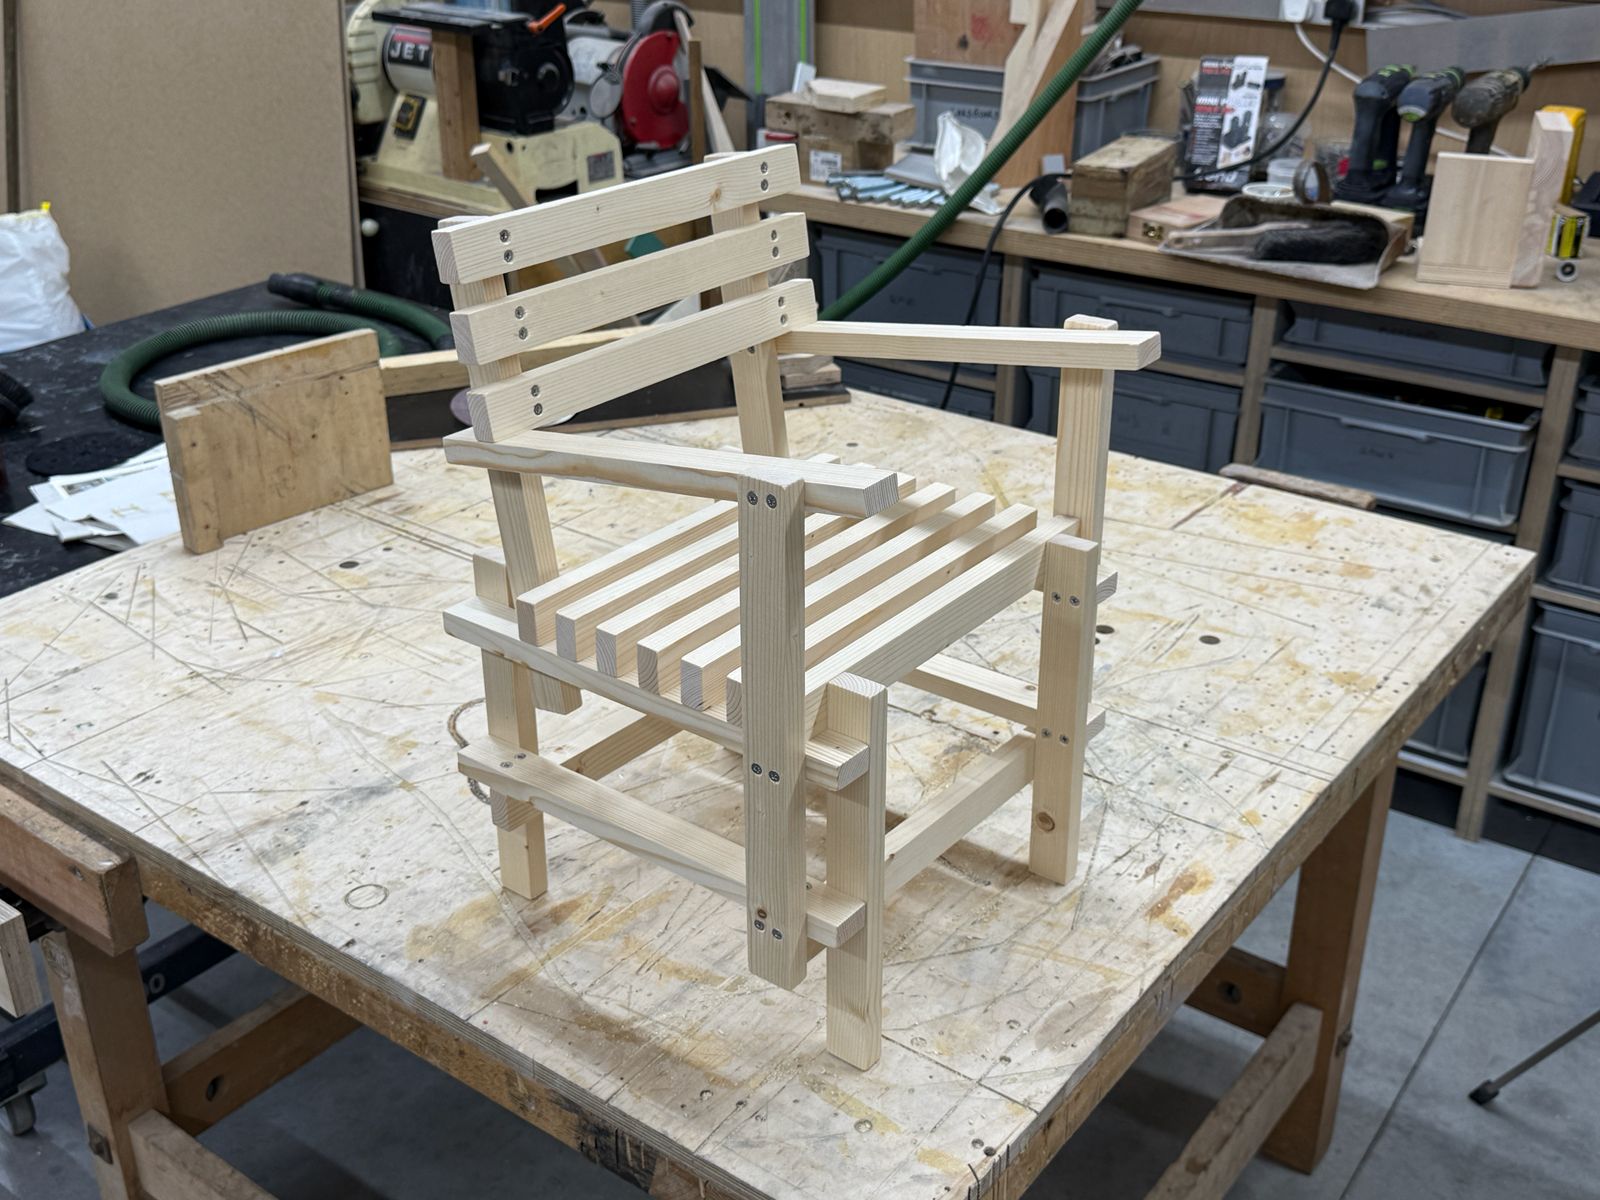
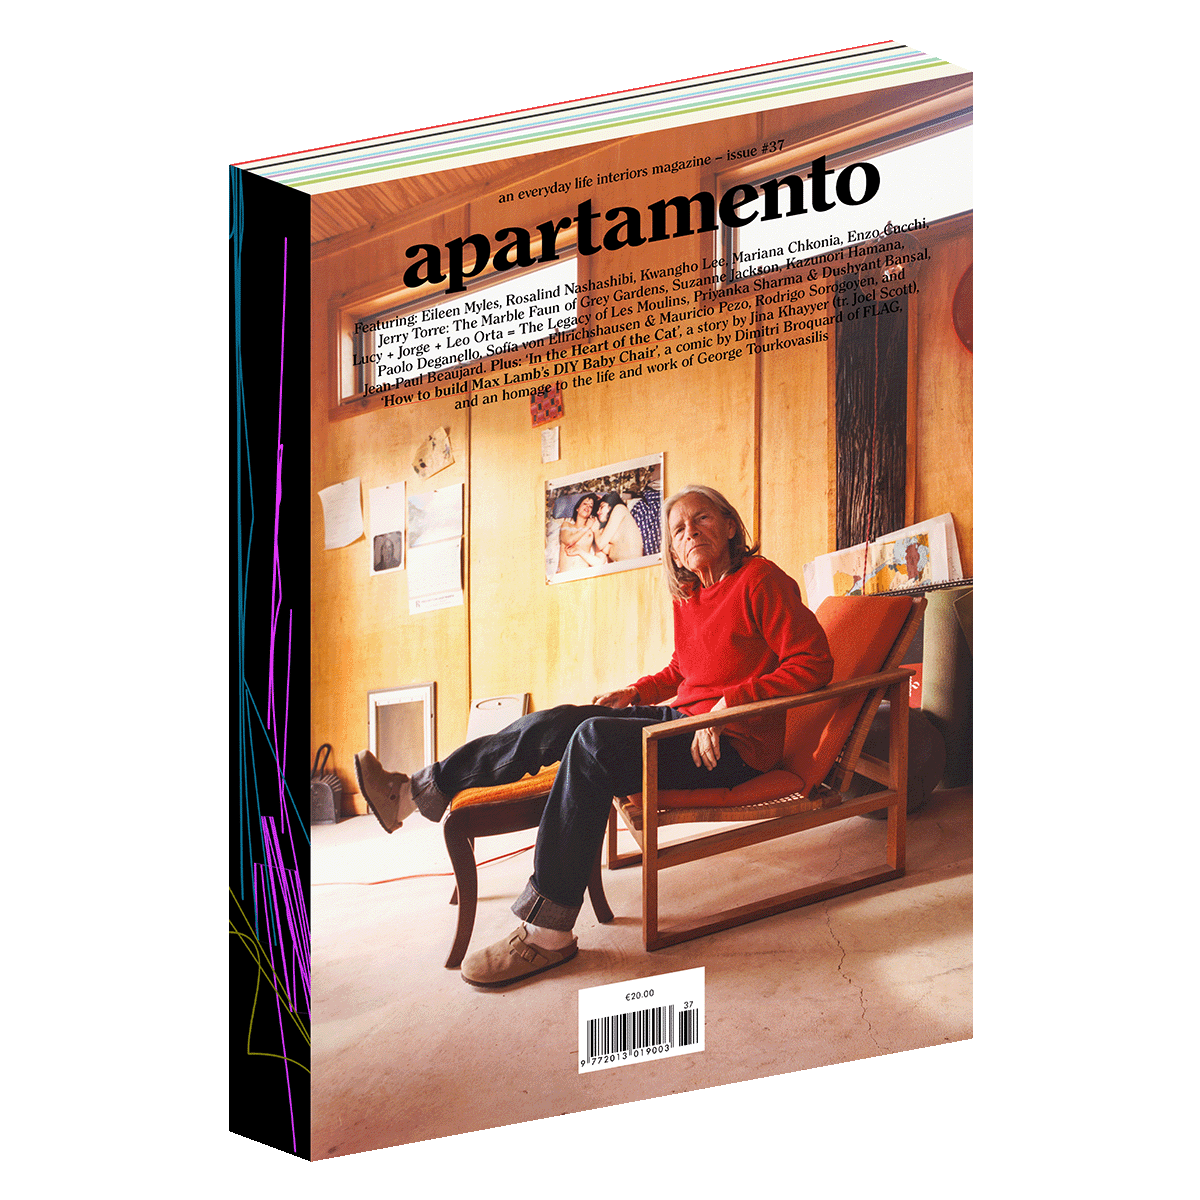
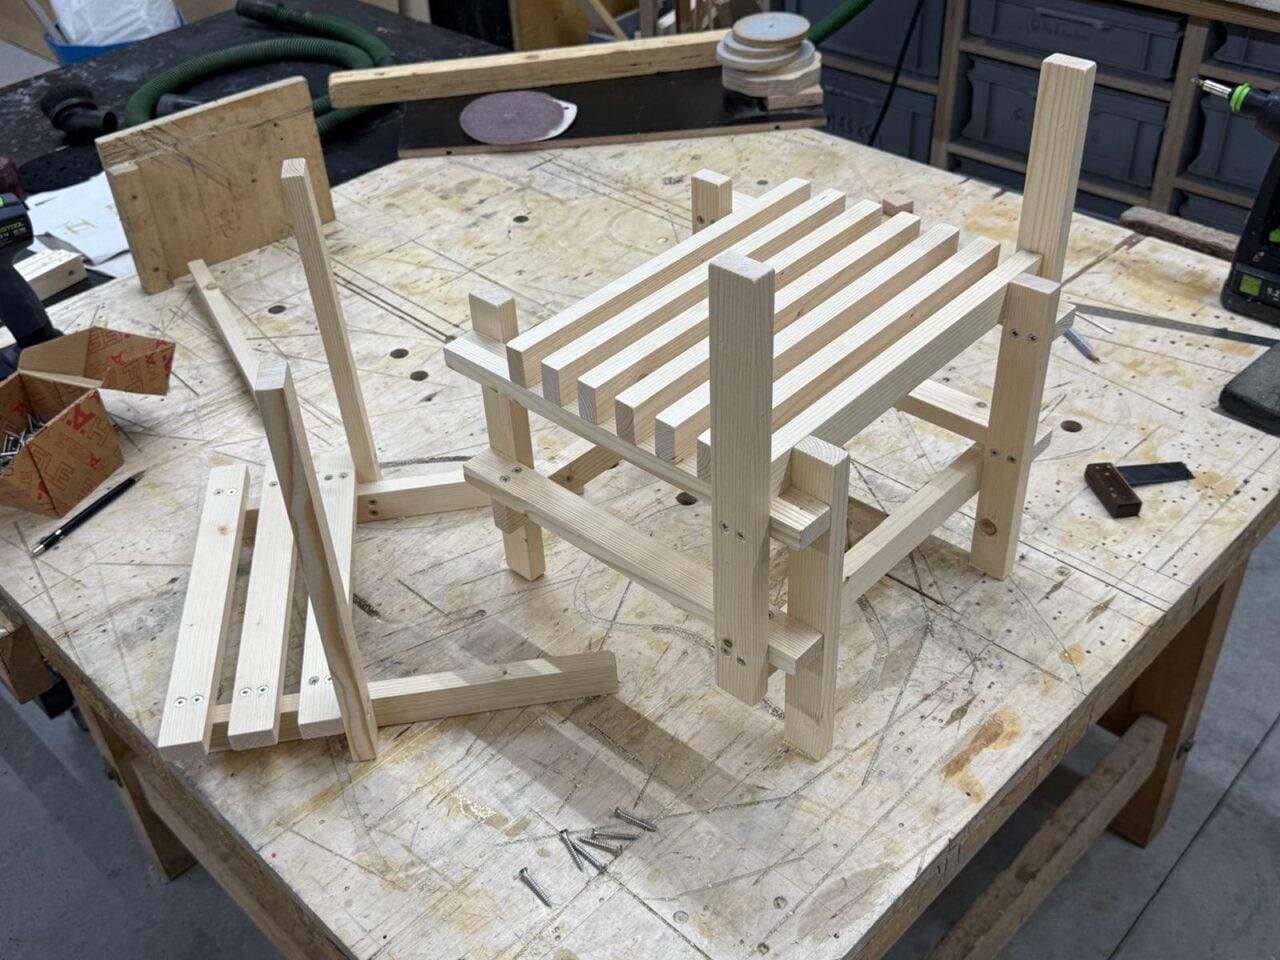
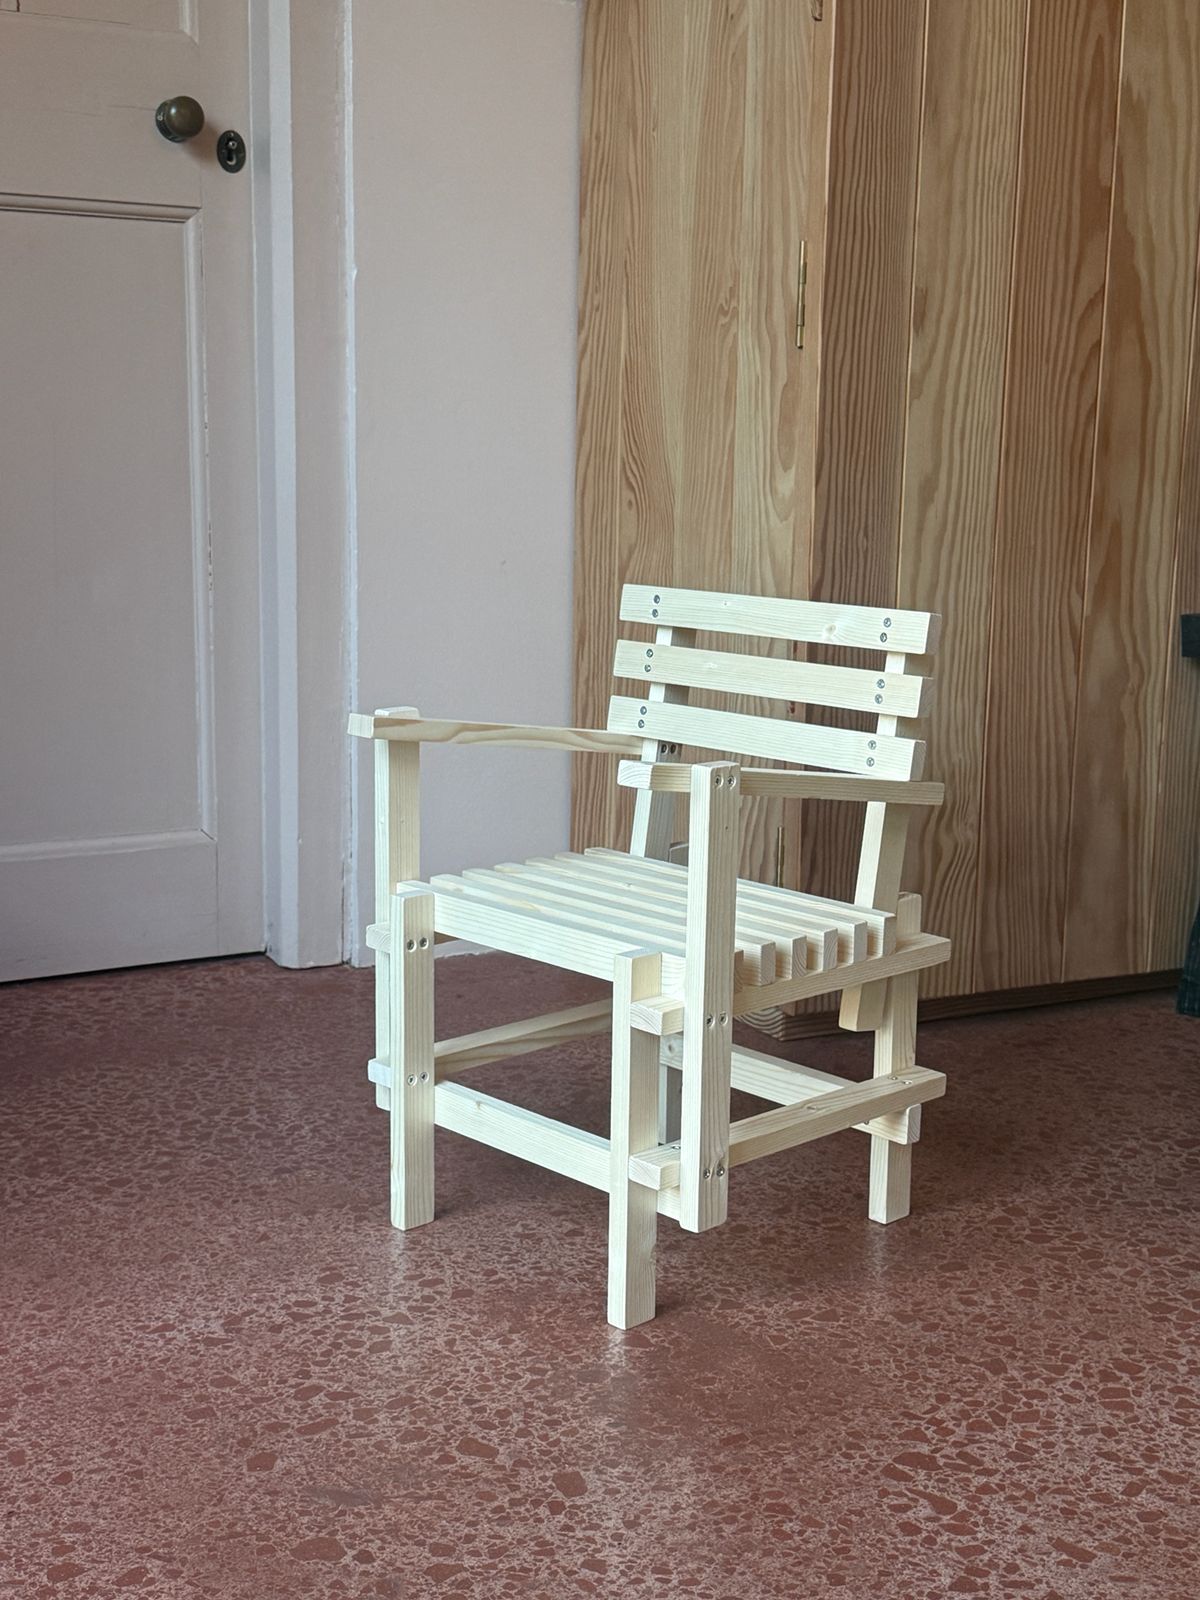
Our latest project with Max Lamb revisits our first collaboration with the designer in issue #2 of Apartamento magazine, reviving his original DIY Chair almost two decades later. Issue #37 opens with a set of easy steps for assembling your very own DIY Baby Chair, a mini version of the original and a new addition to the cast of characters in Max’s Forest. A comic by Dimitri Broquard of FLAG guides you through at-home assembly, complete with helpful tips from Max himself. 

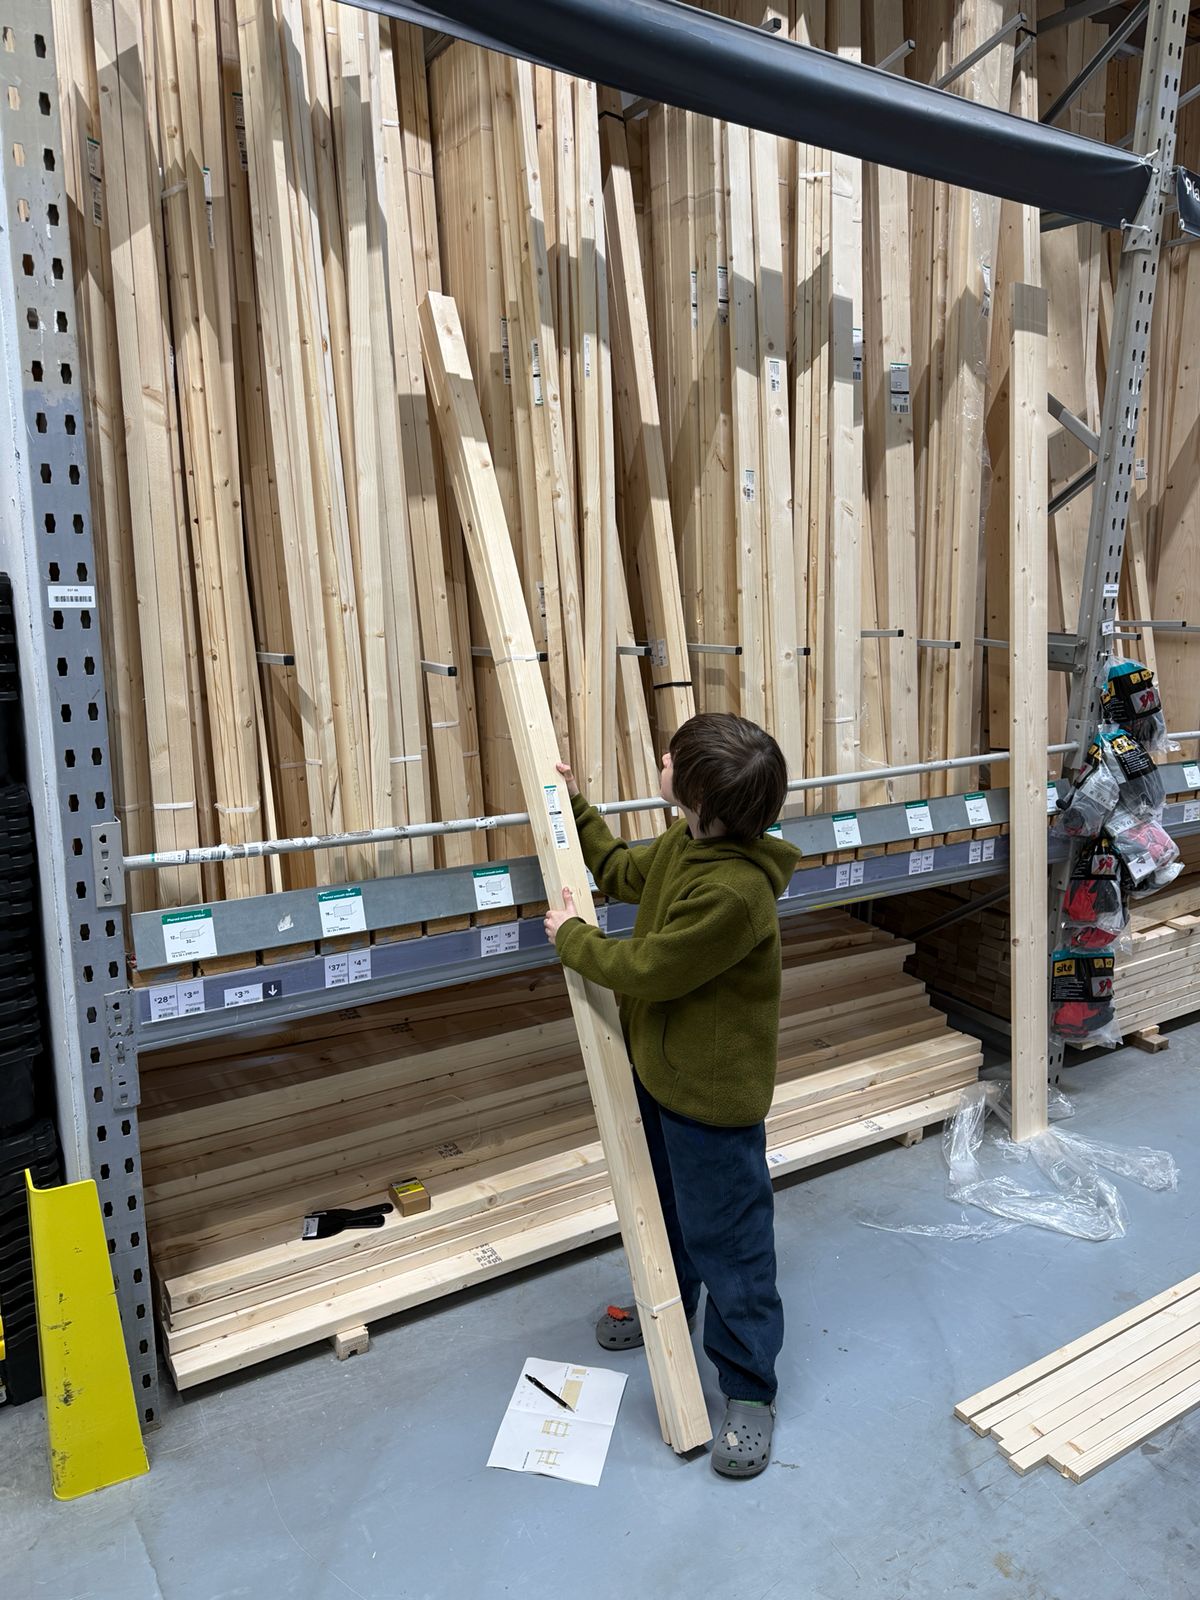
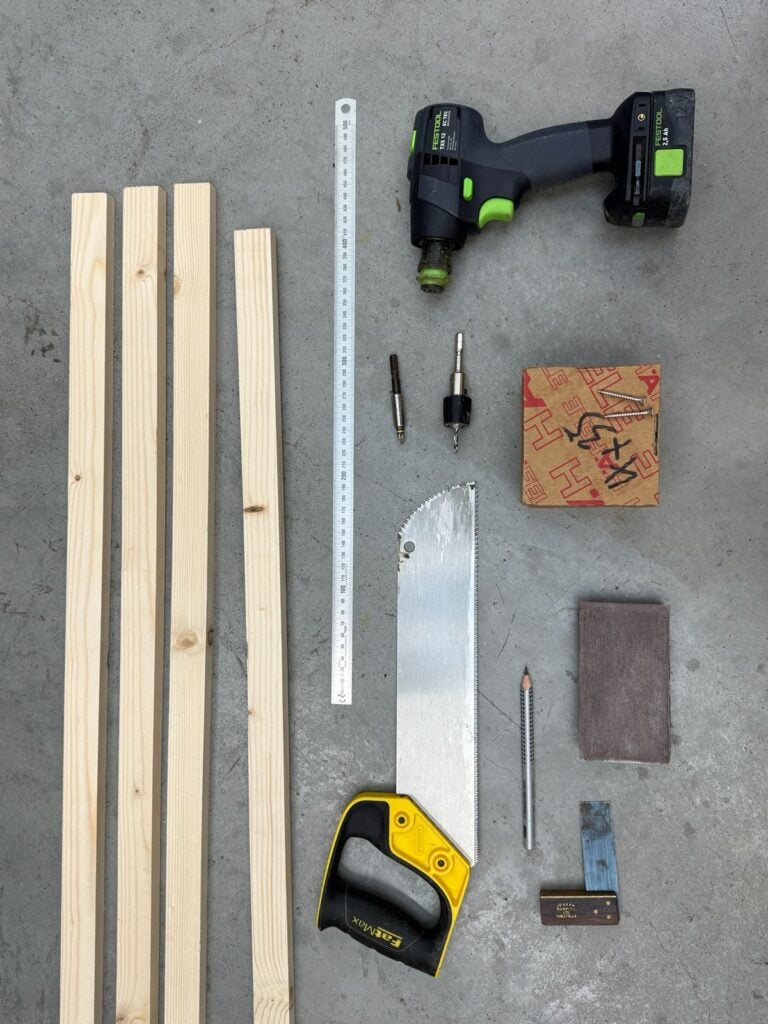
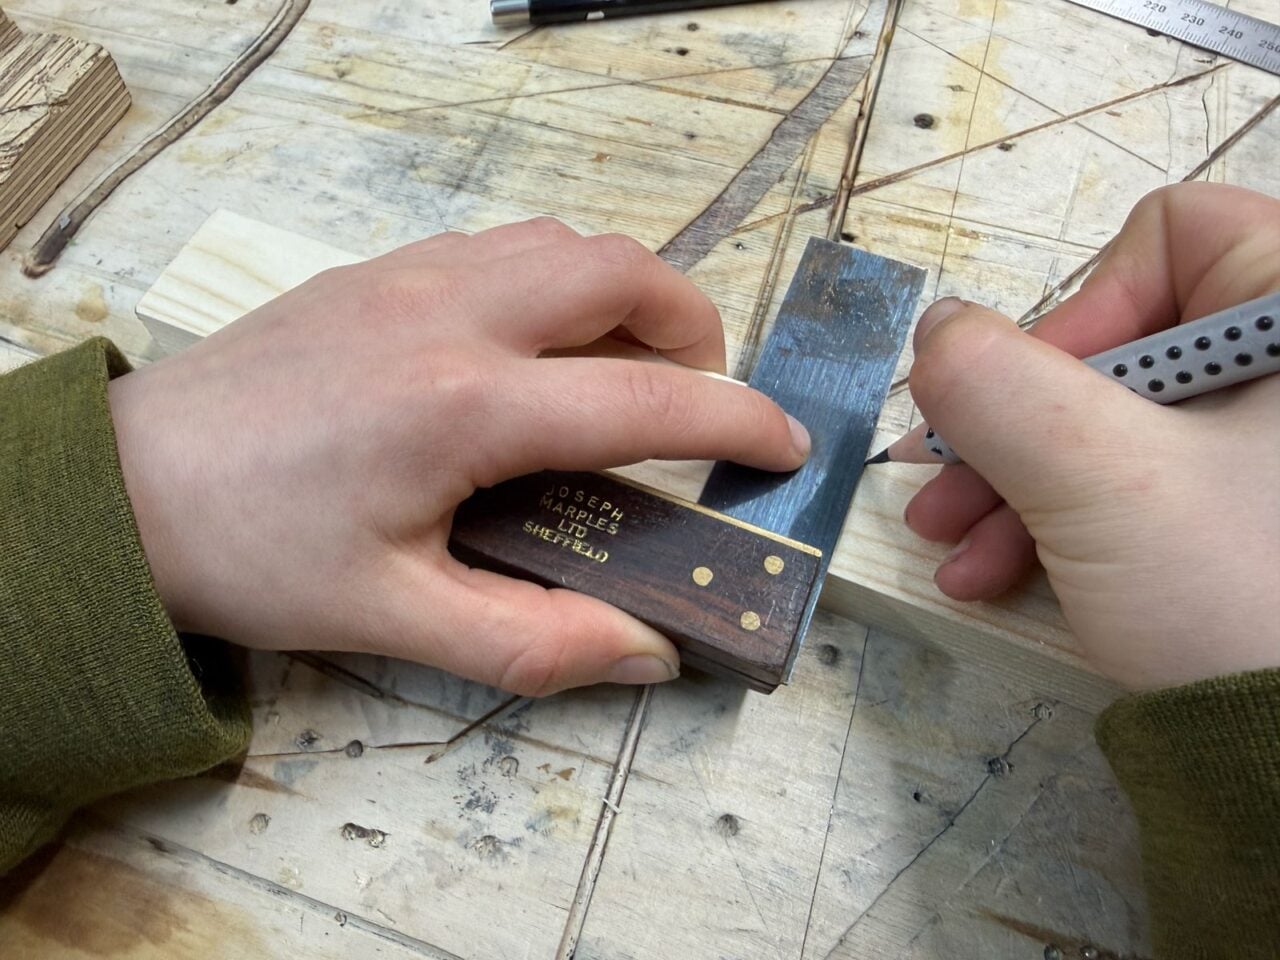
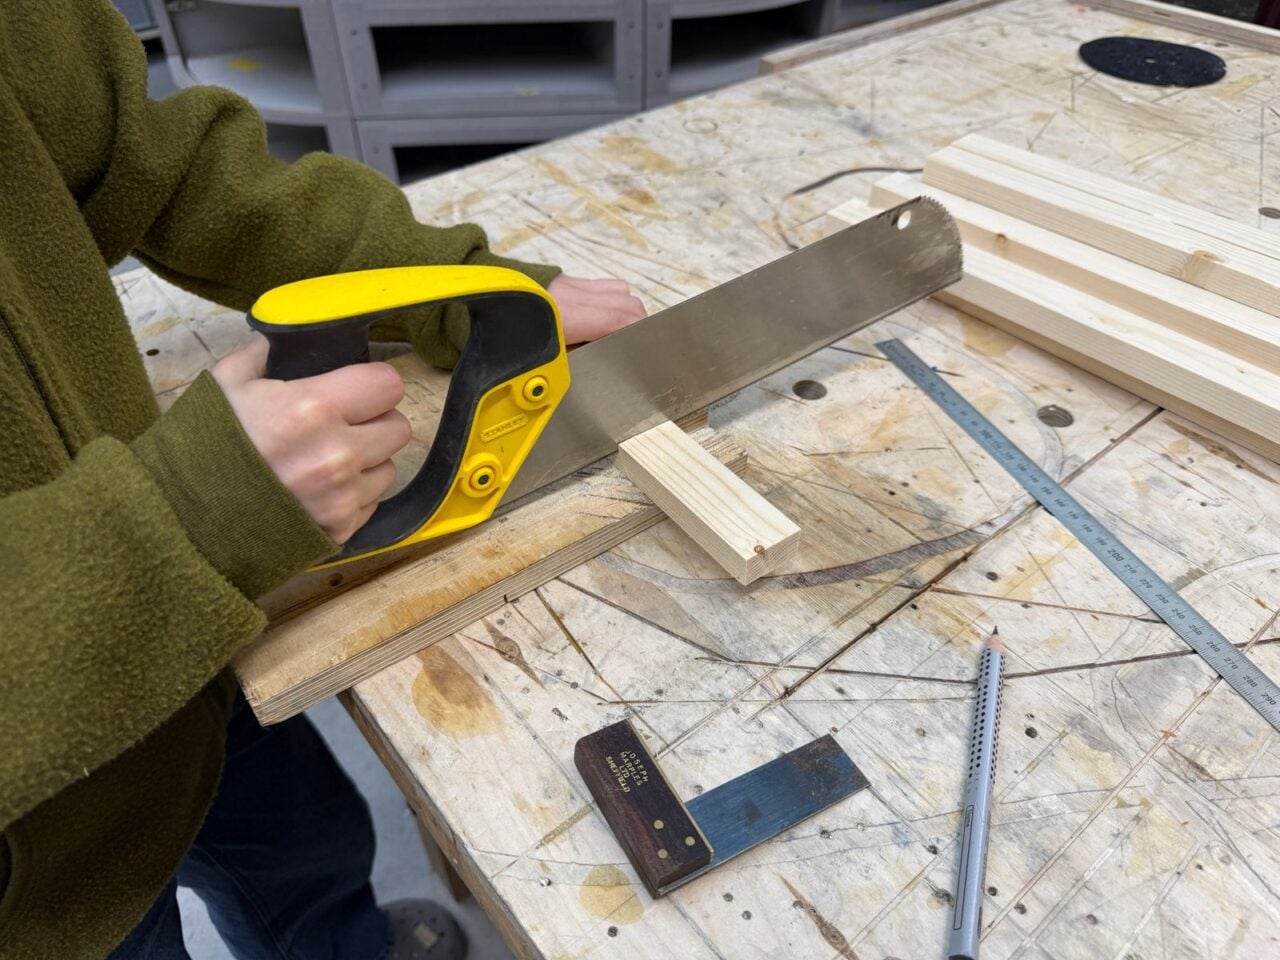
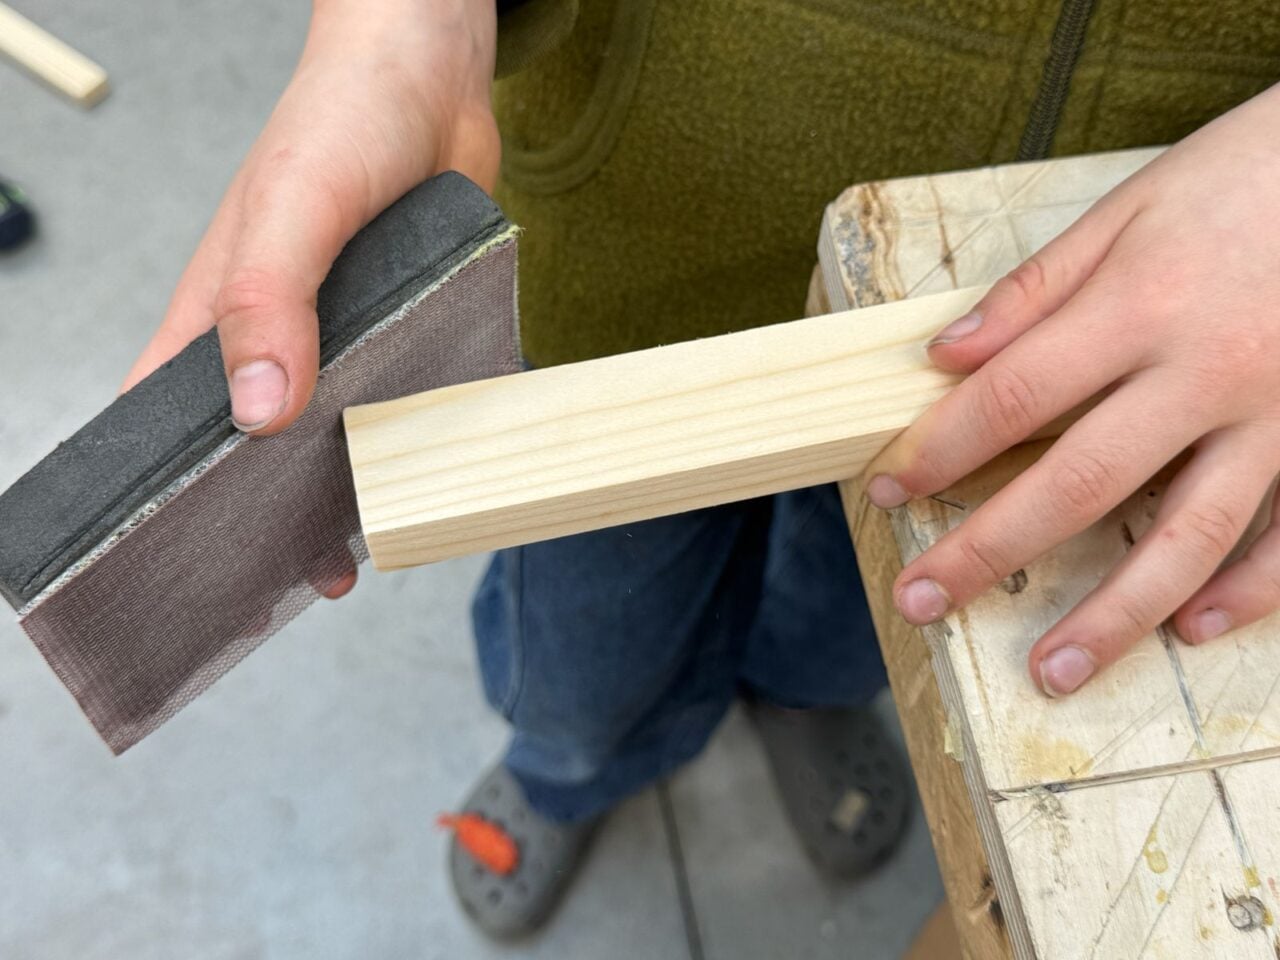
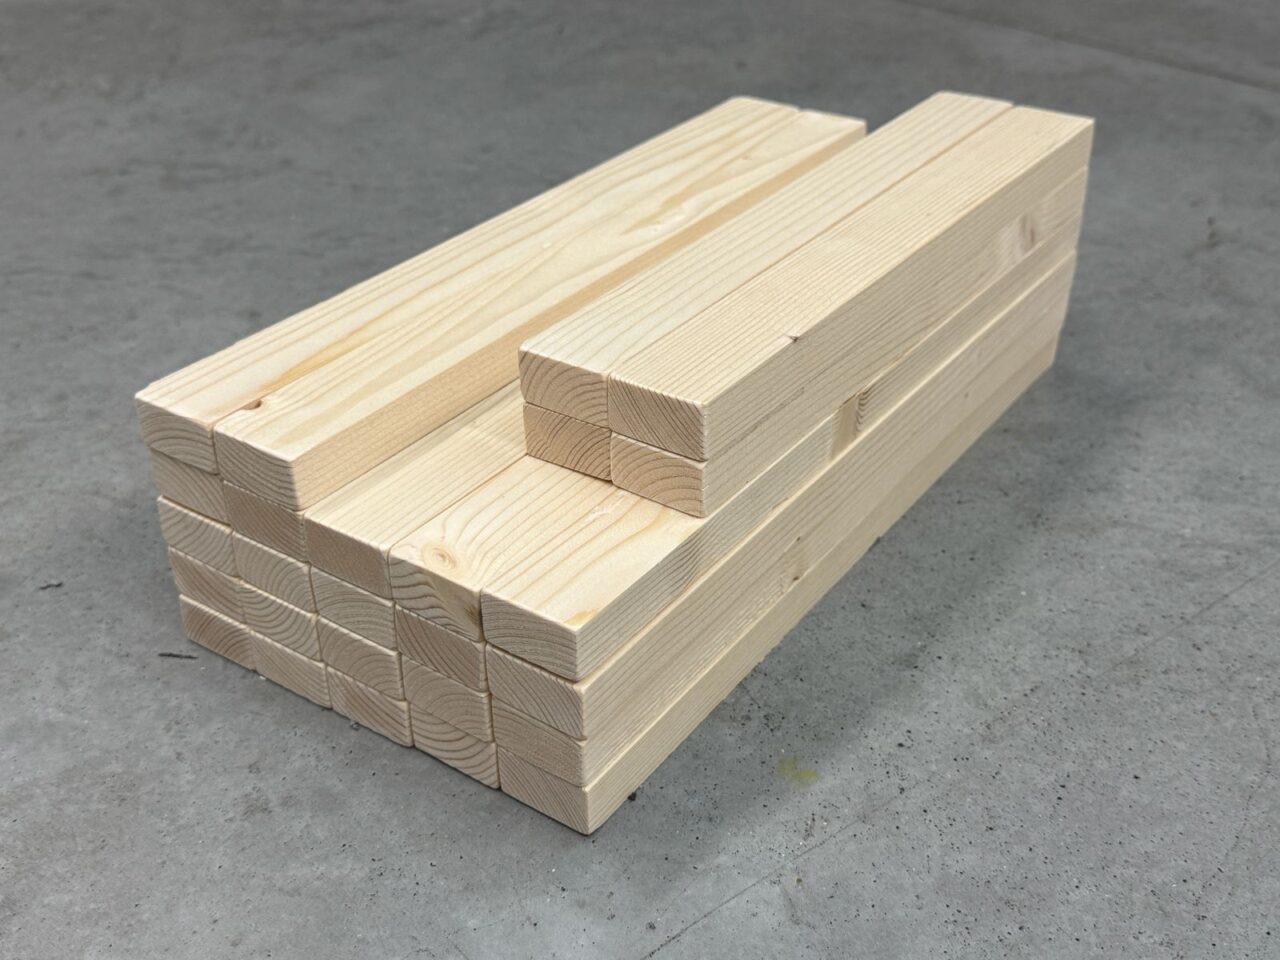
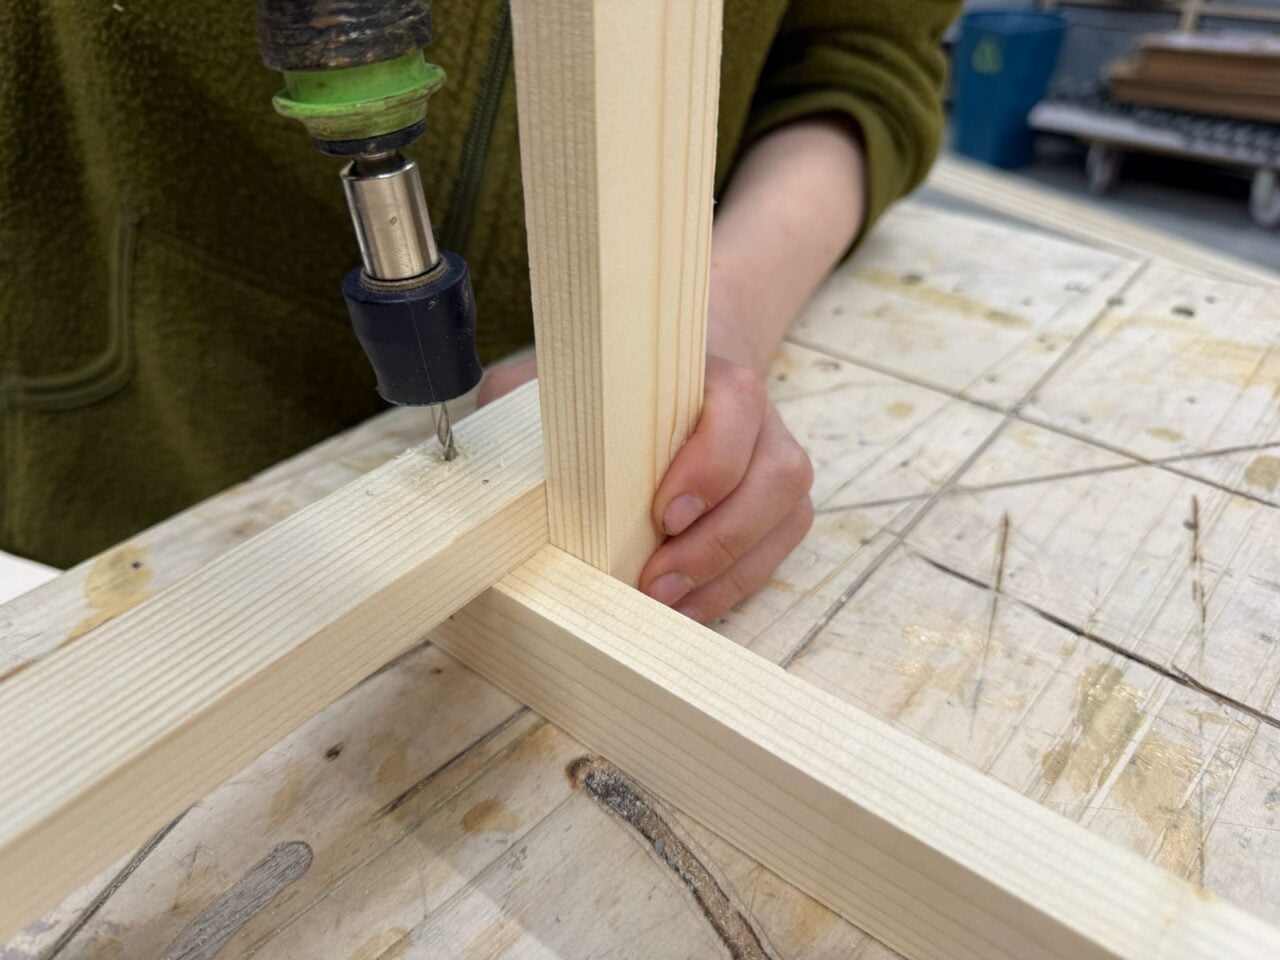
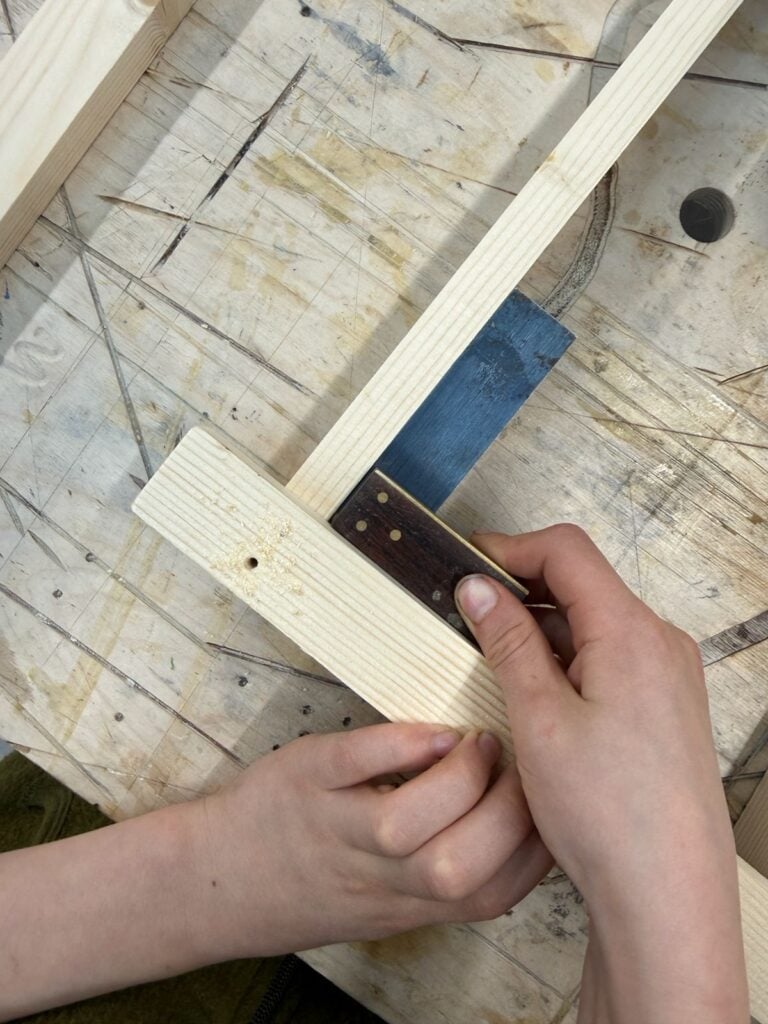
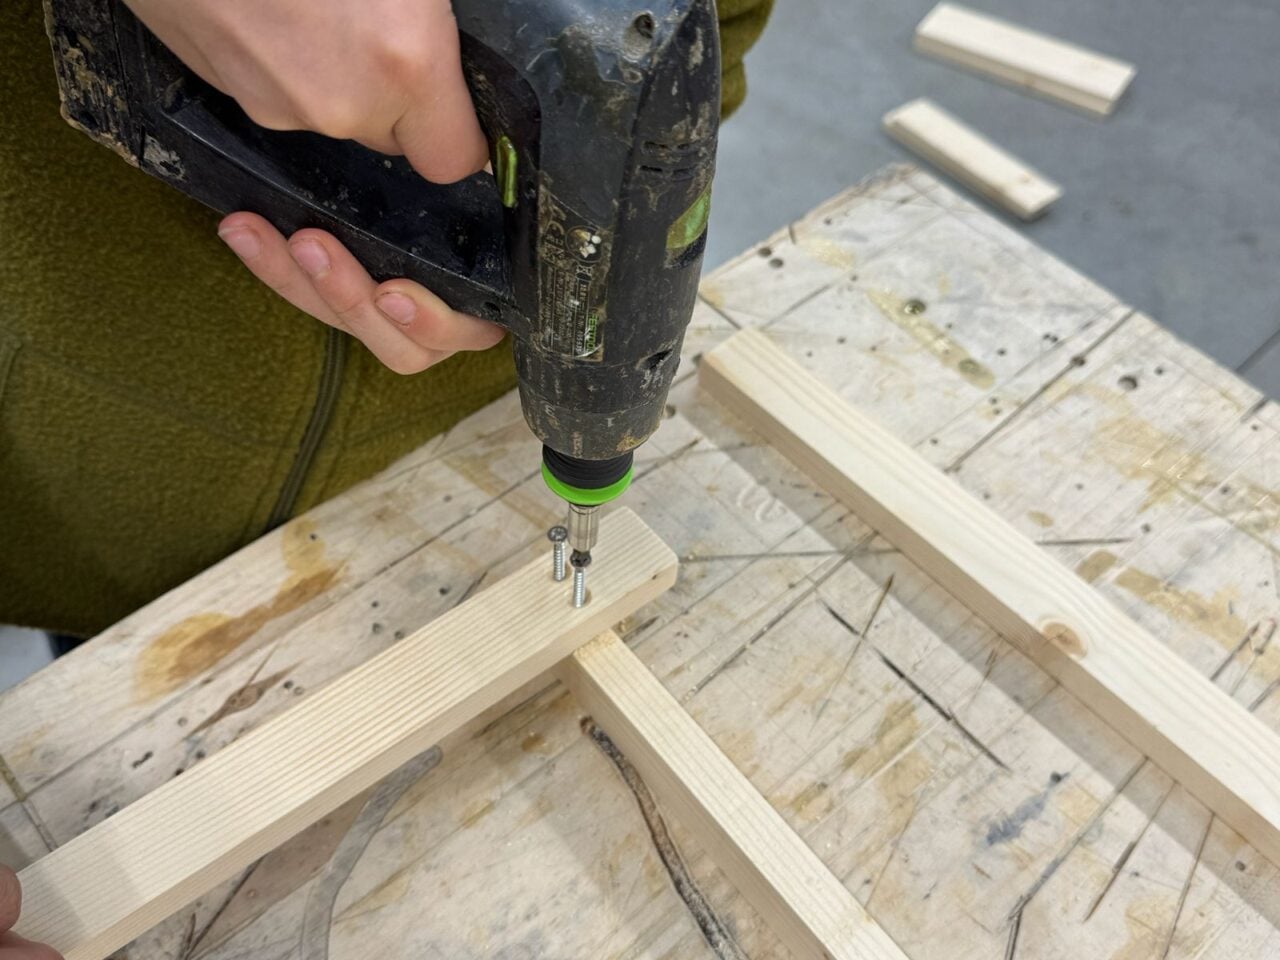
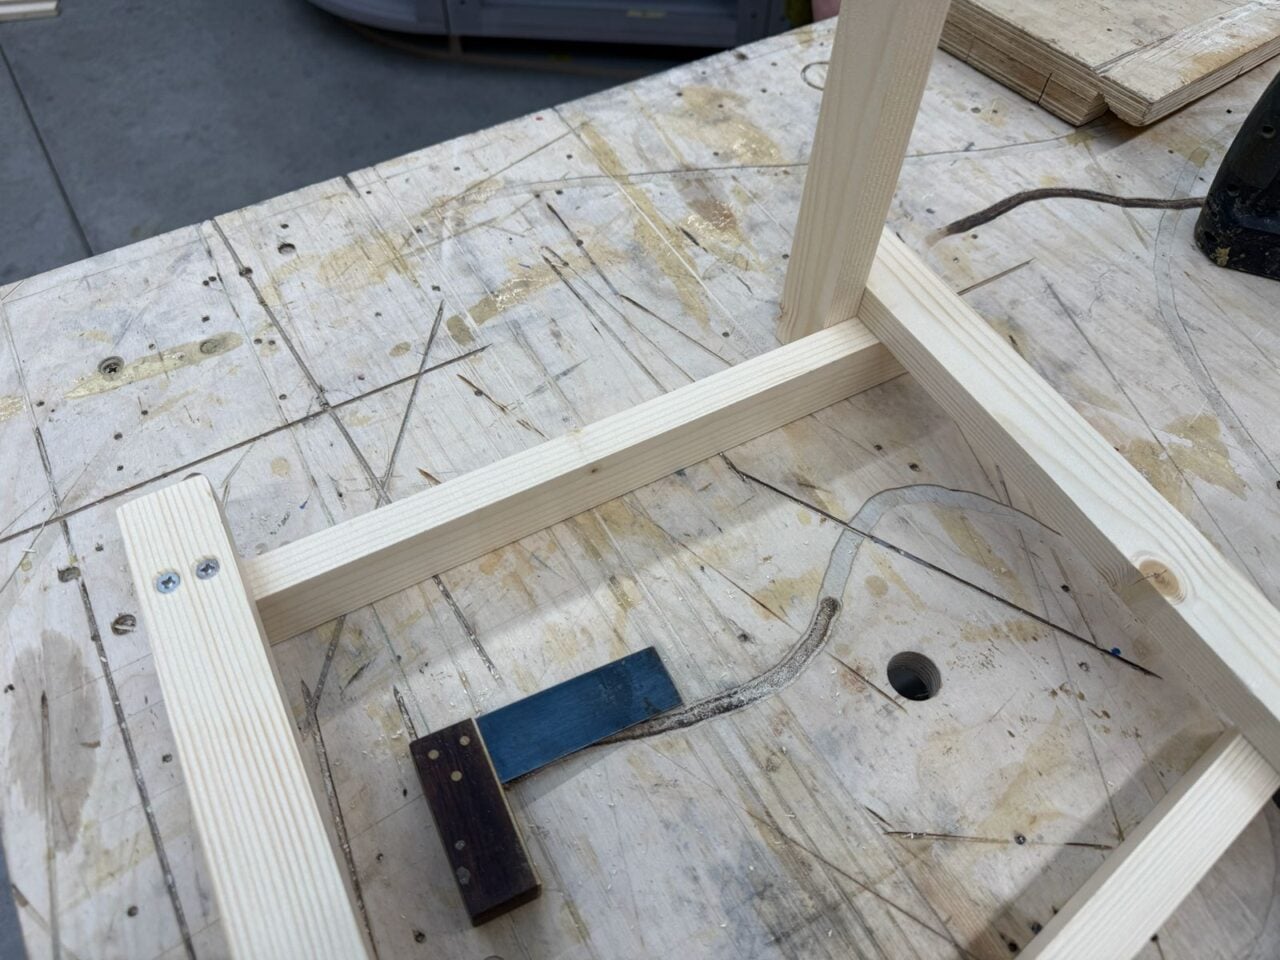
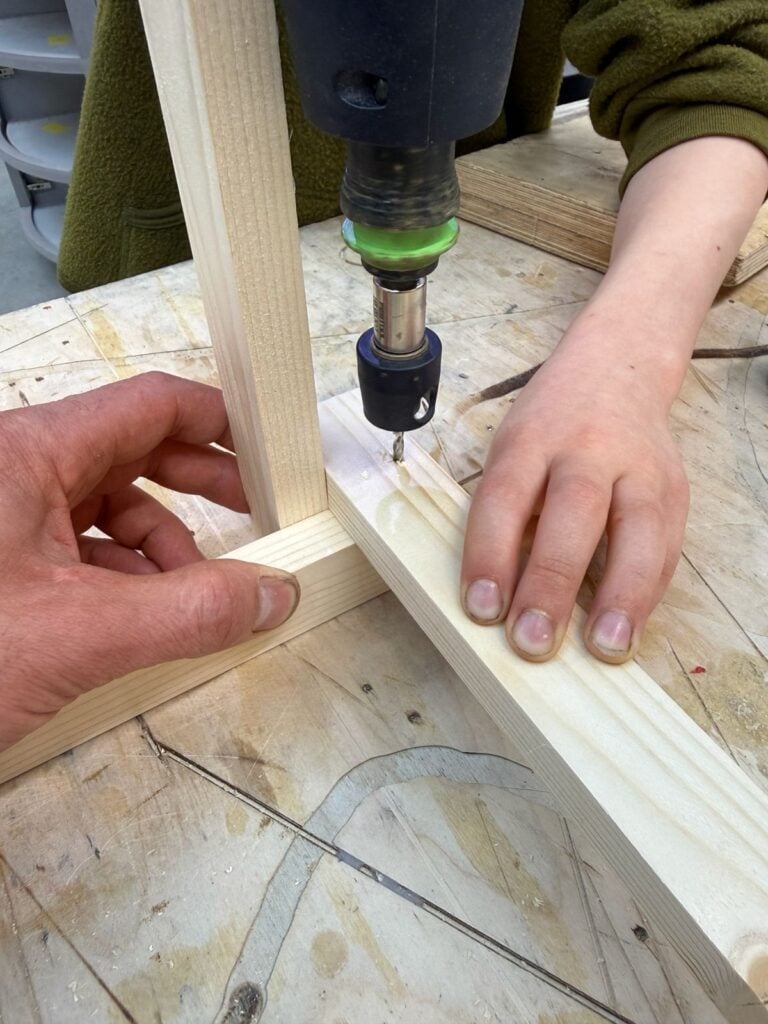
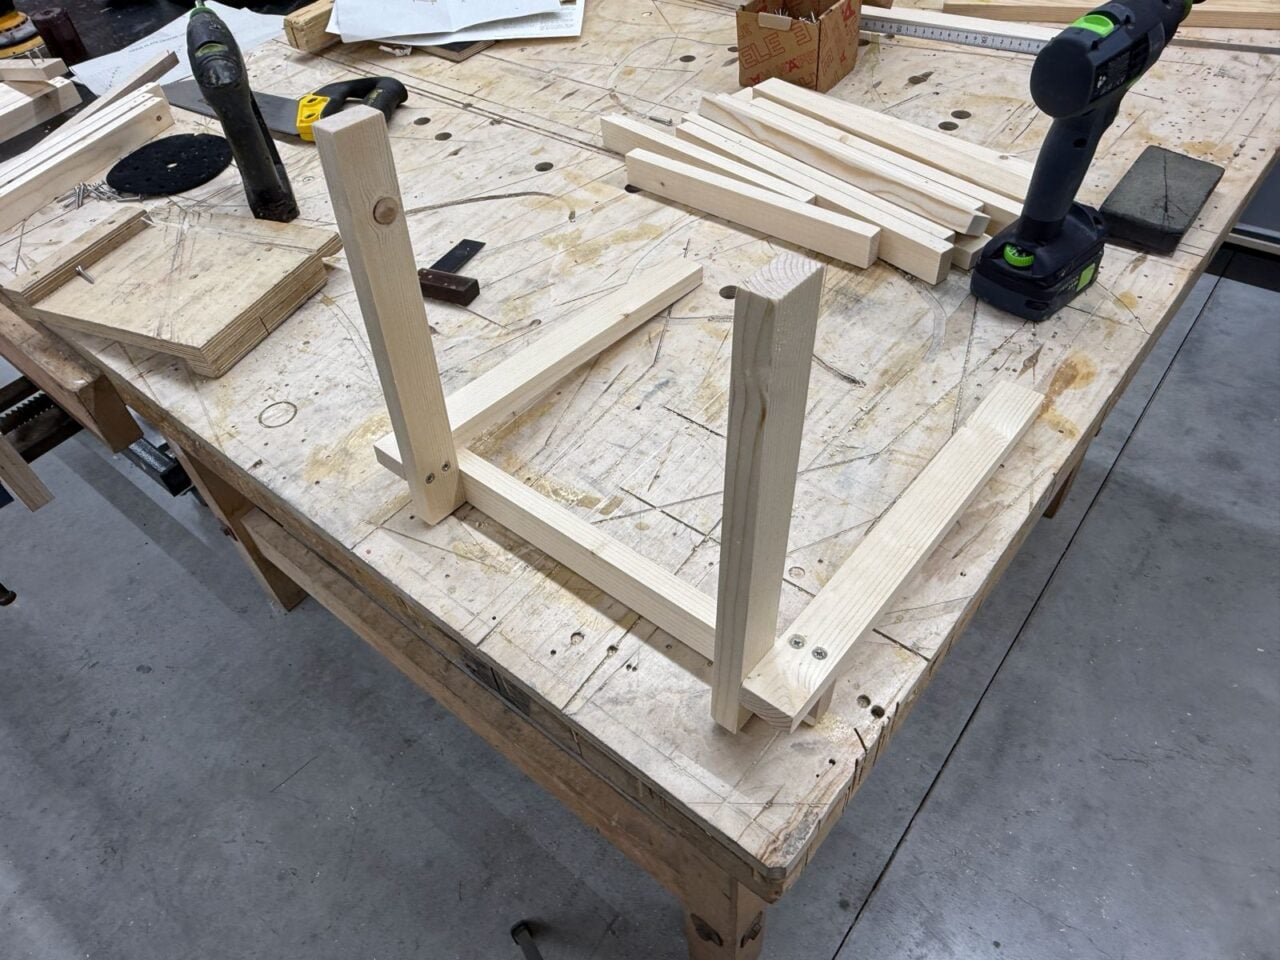
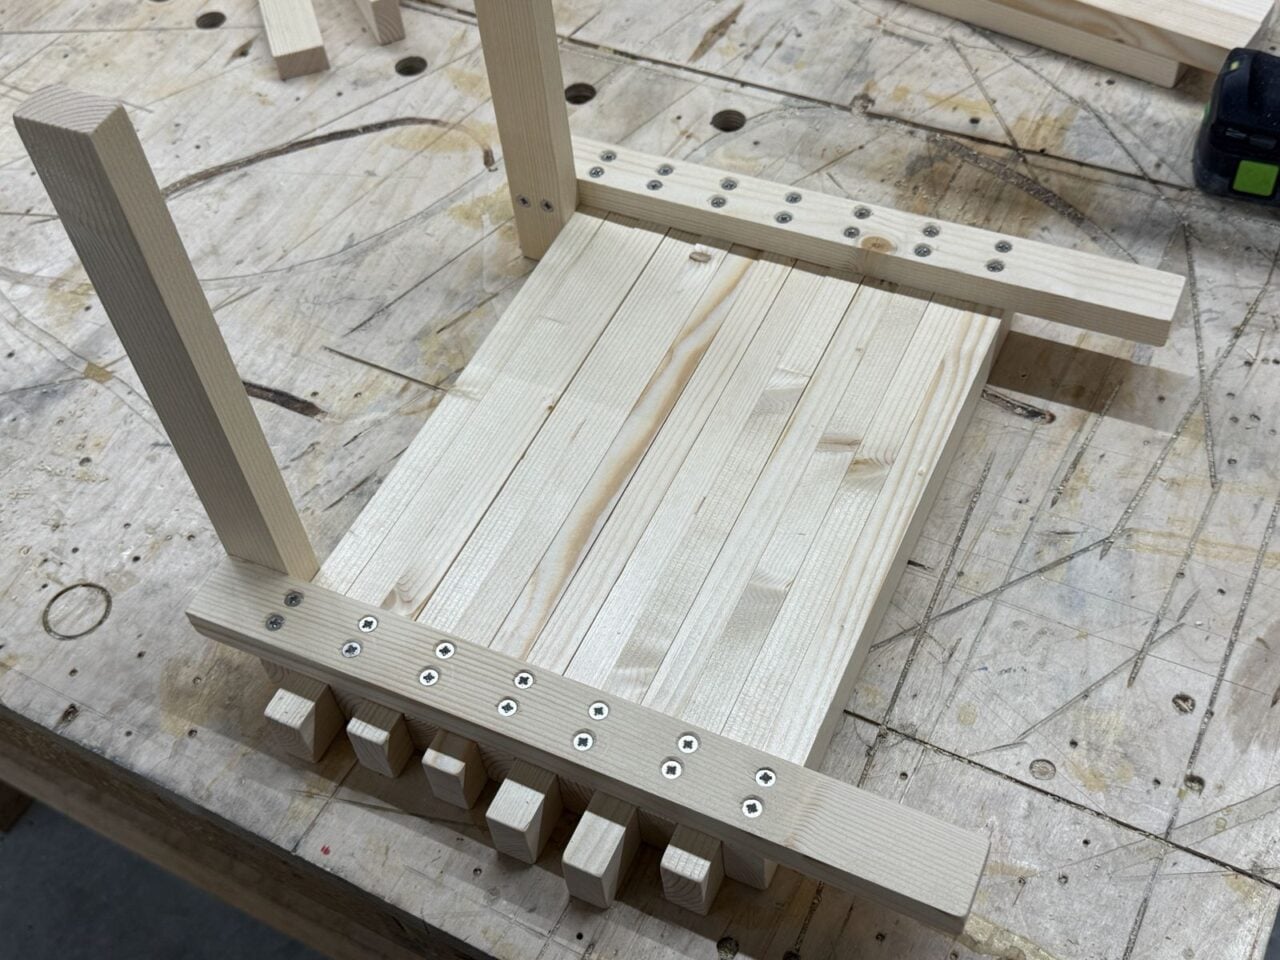
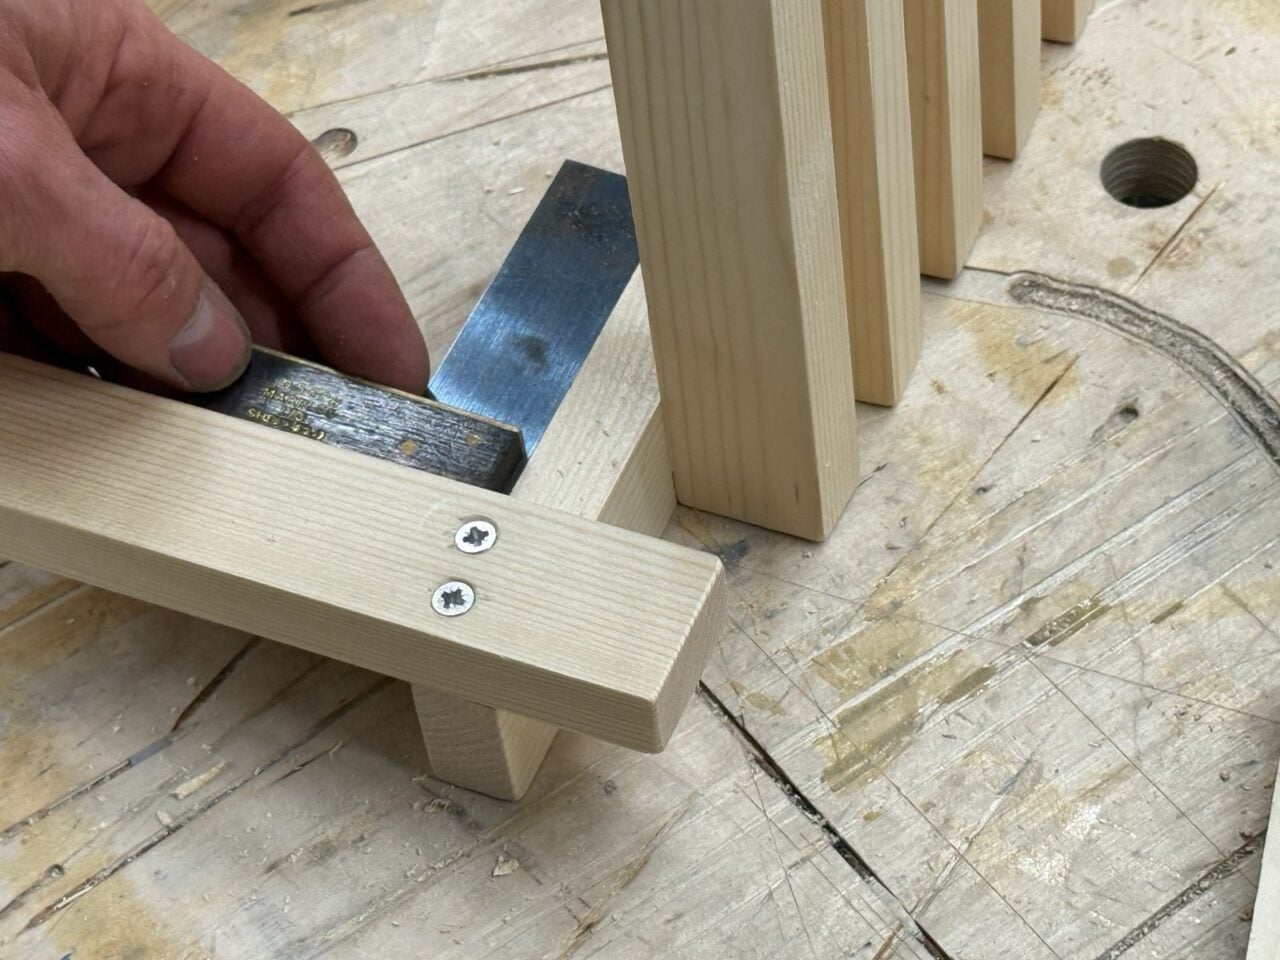
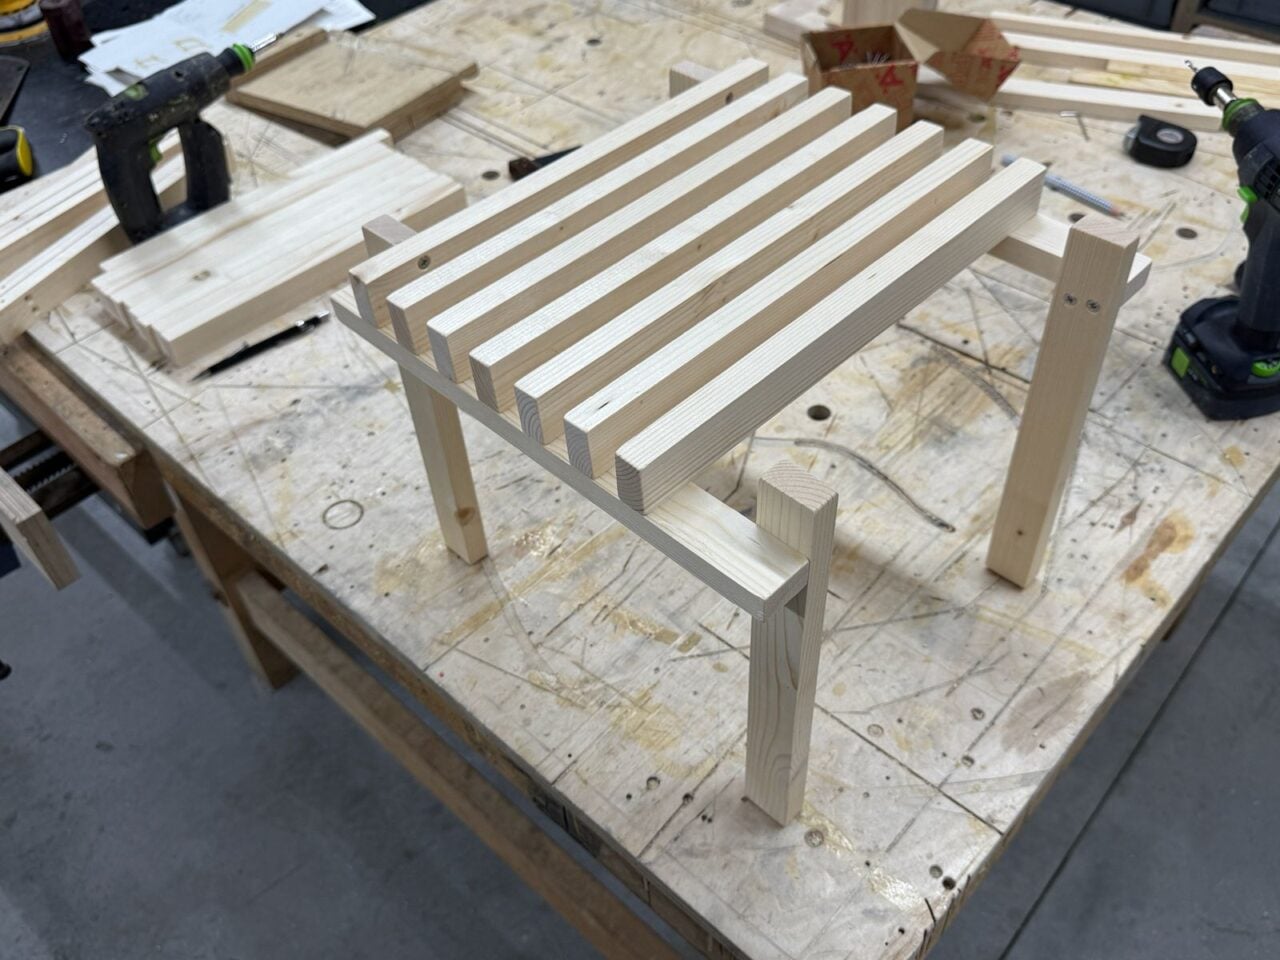
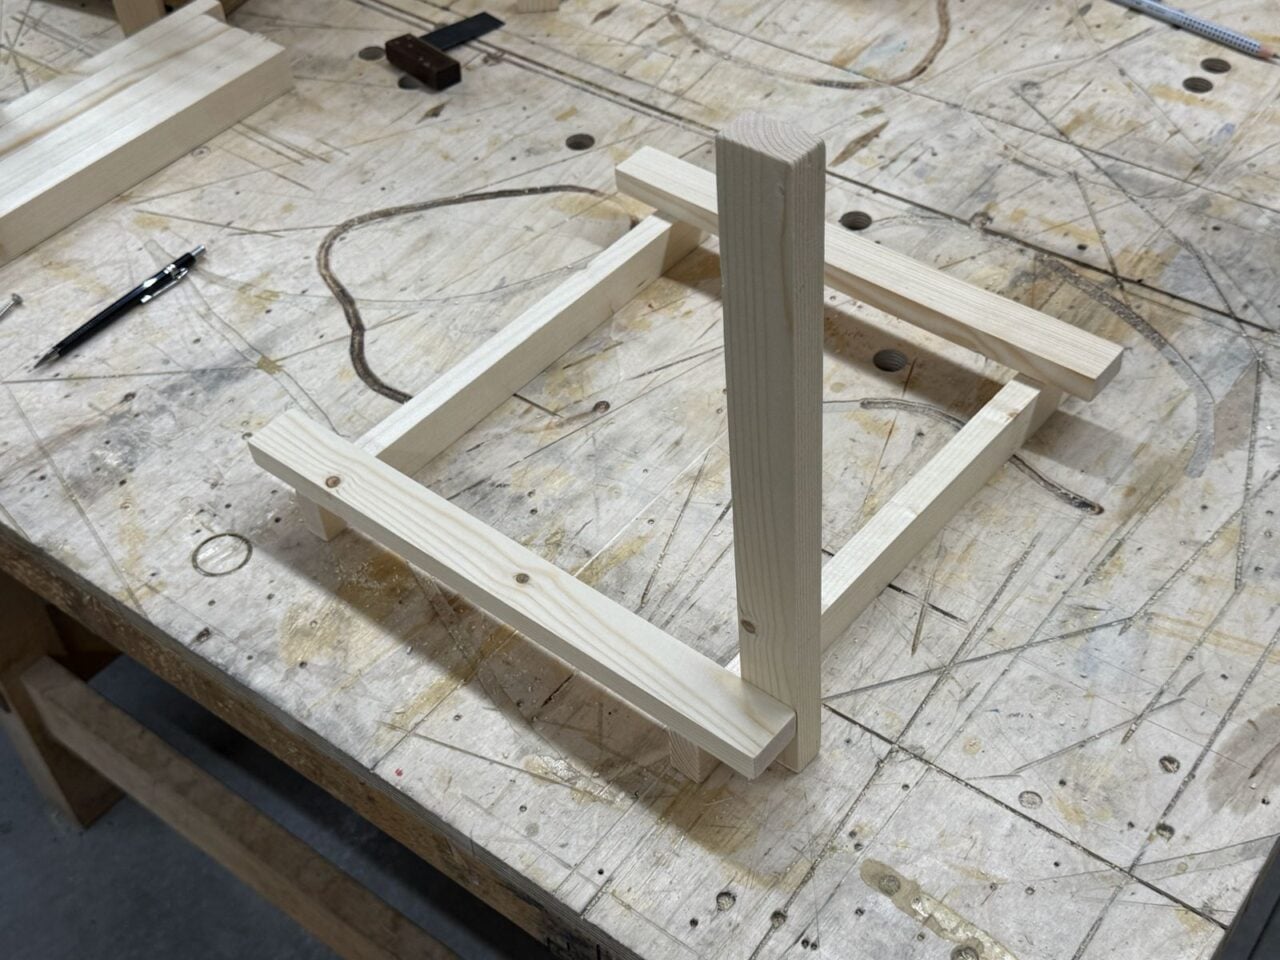
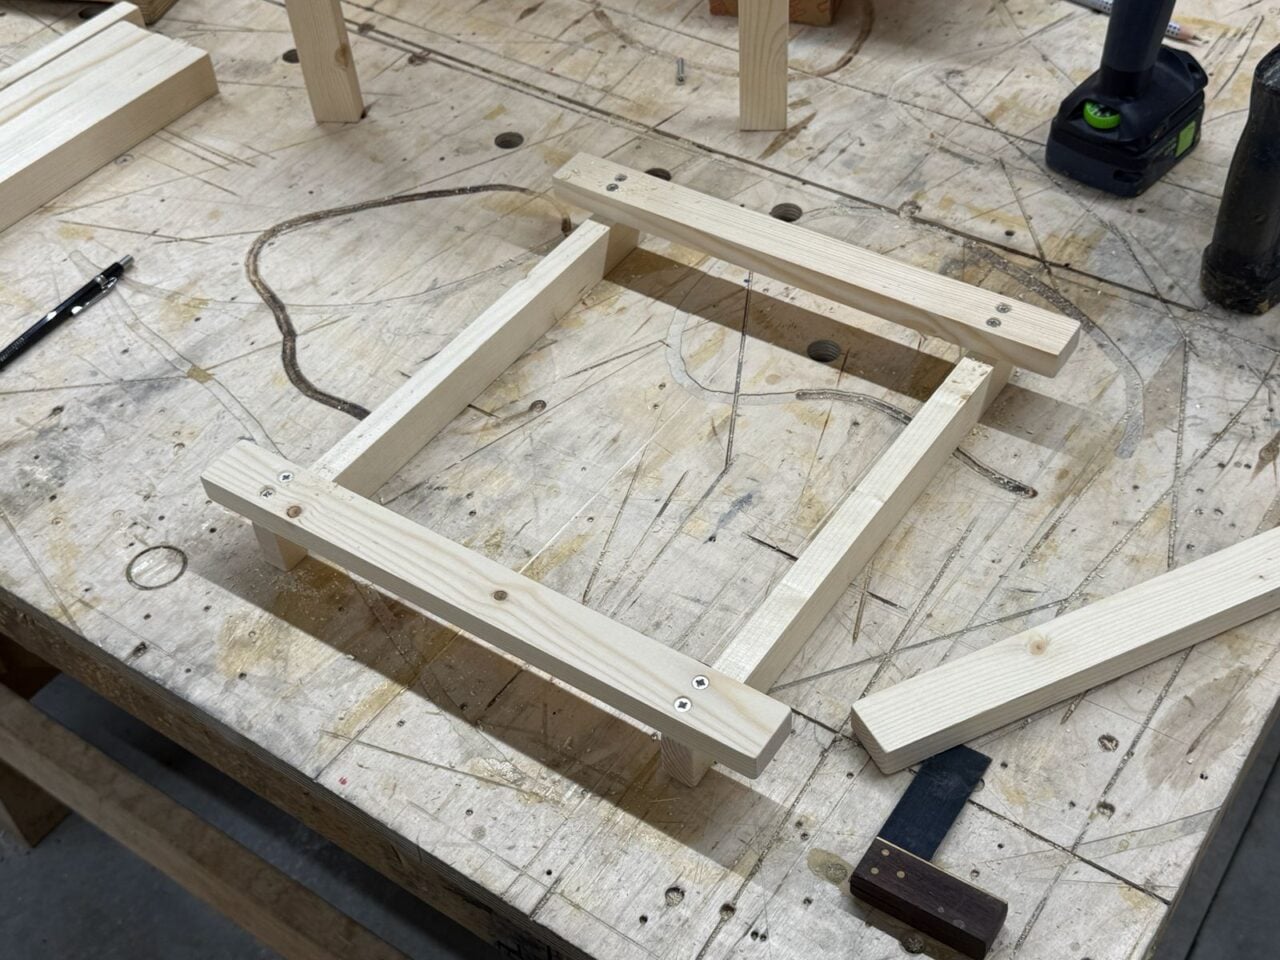
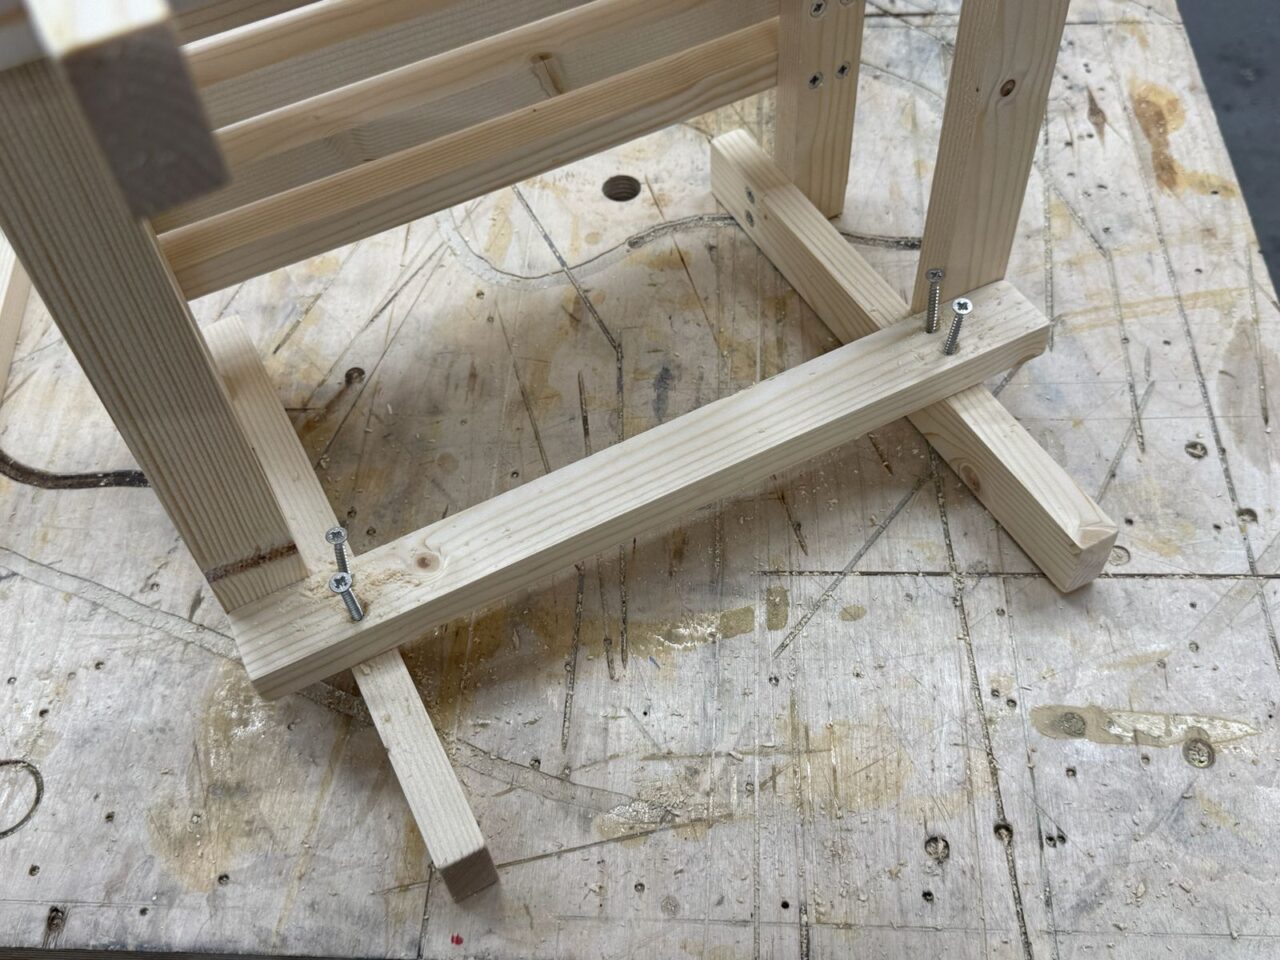
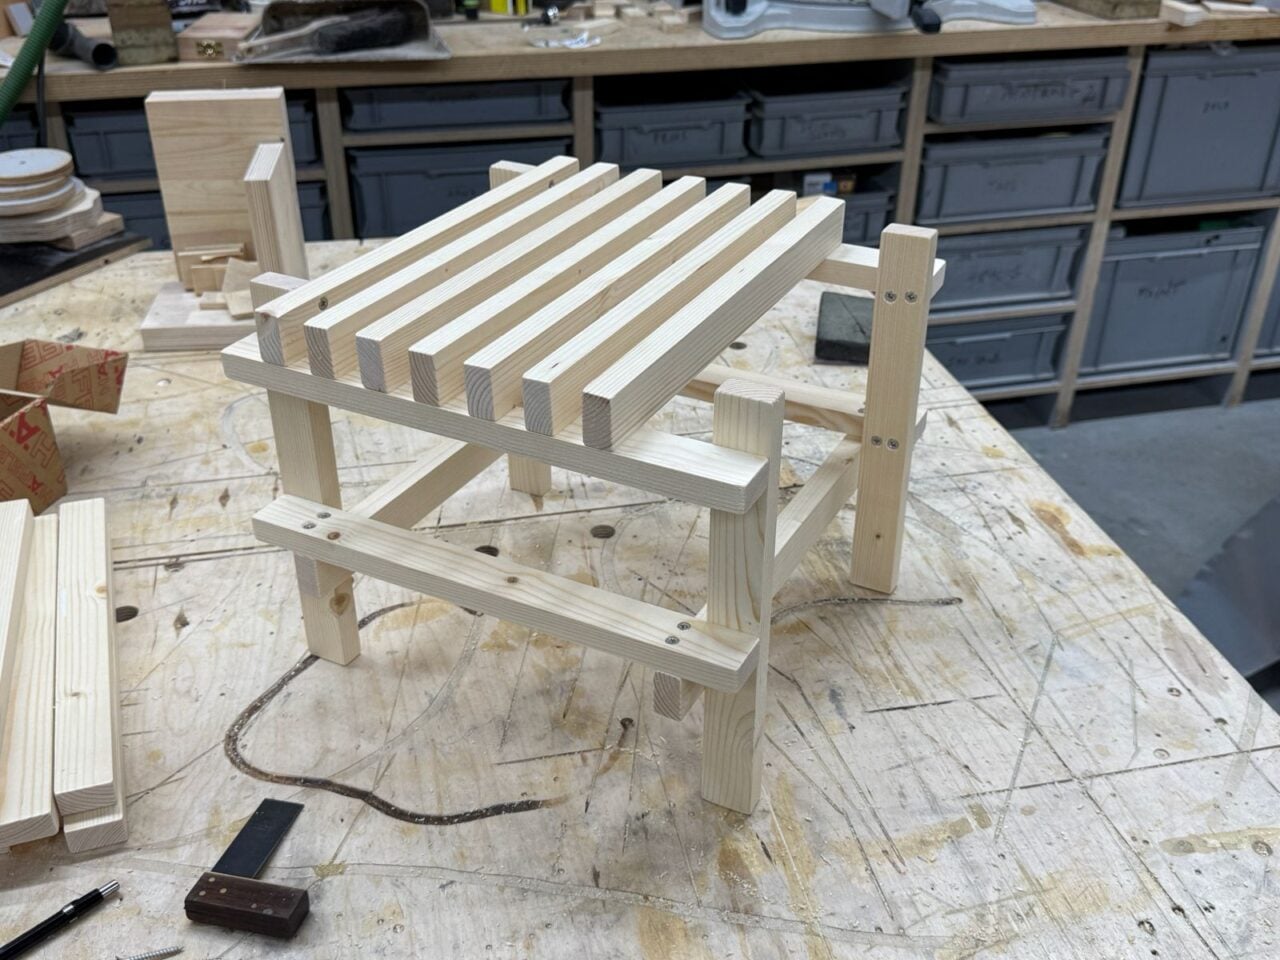
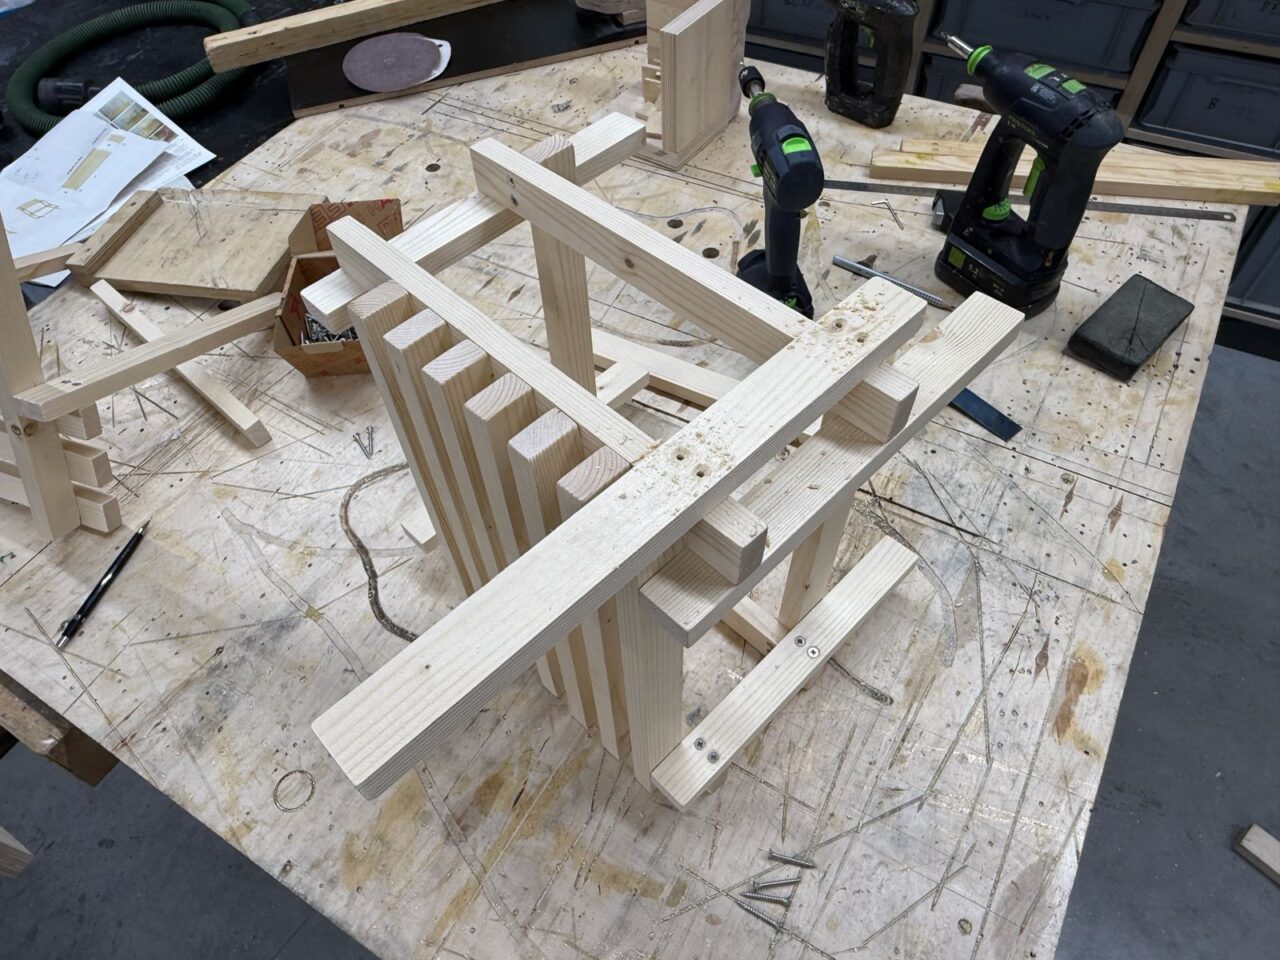
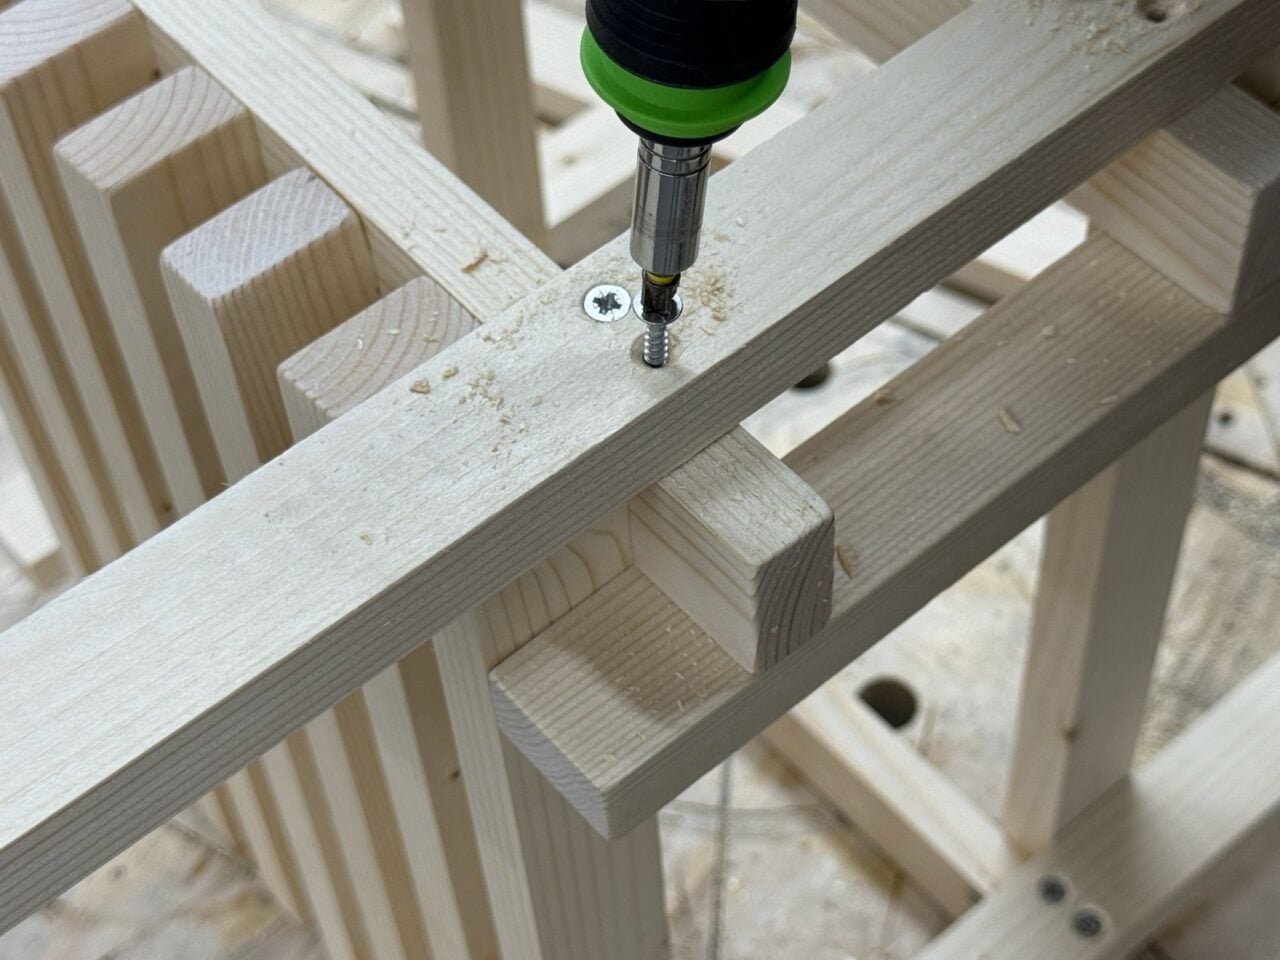
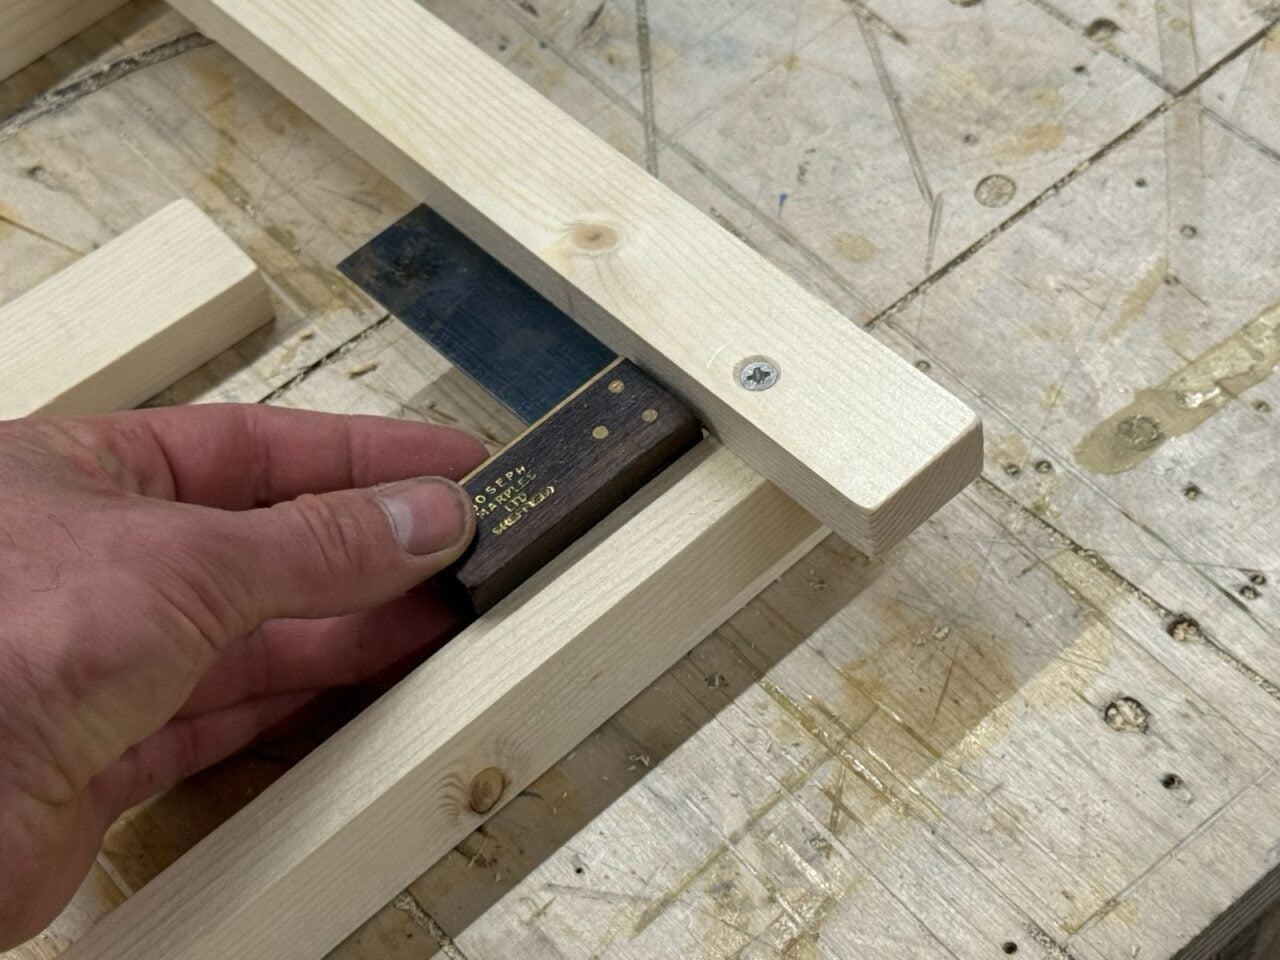
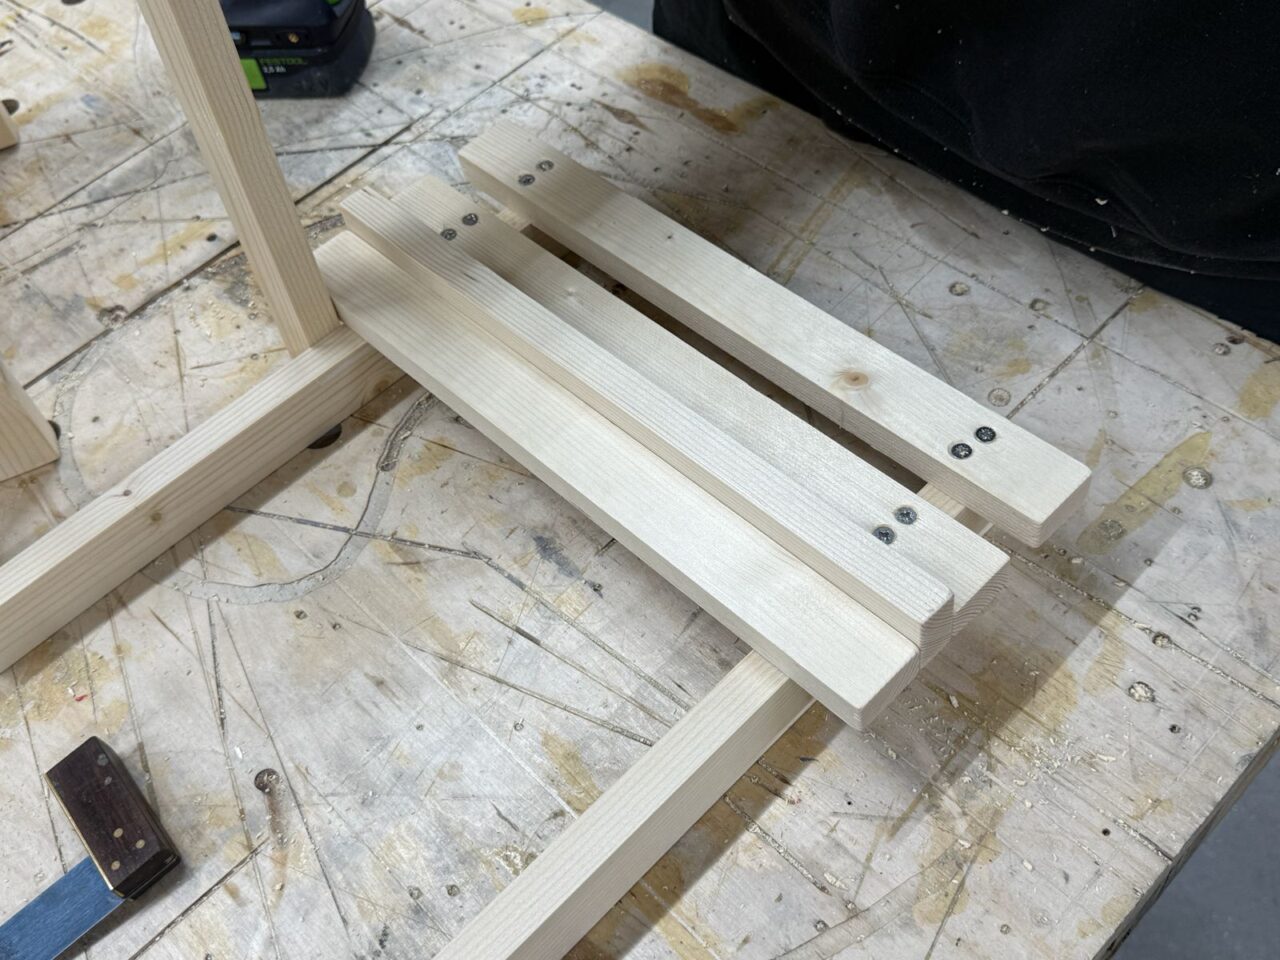
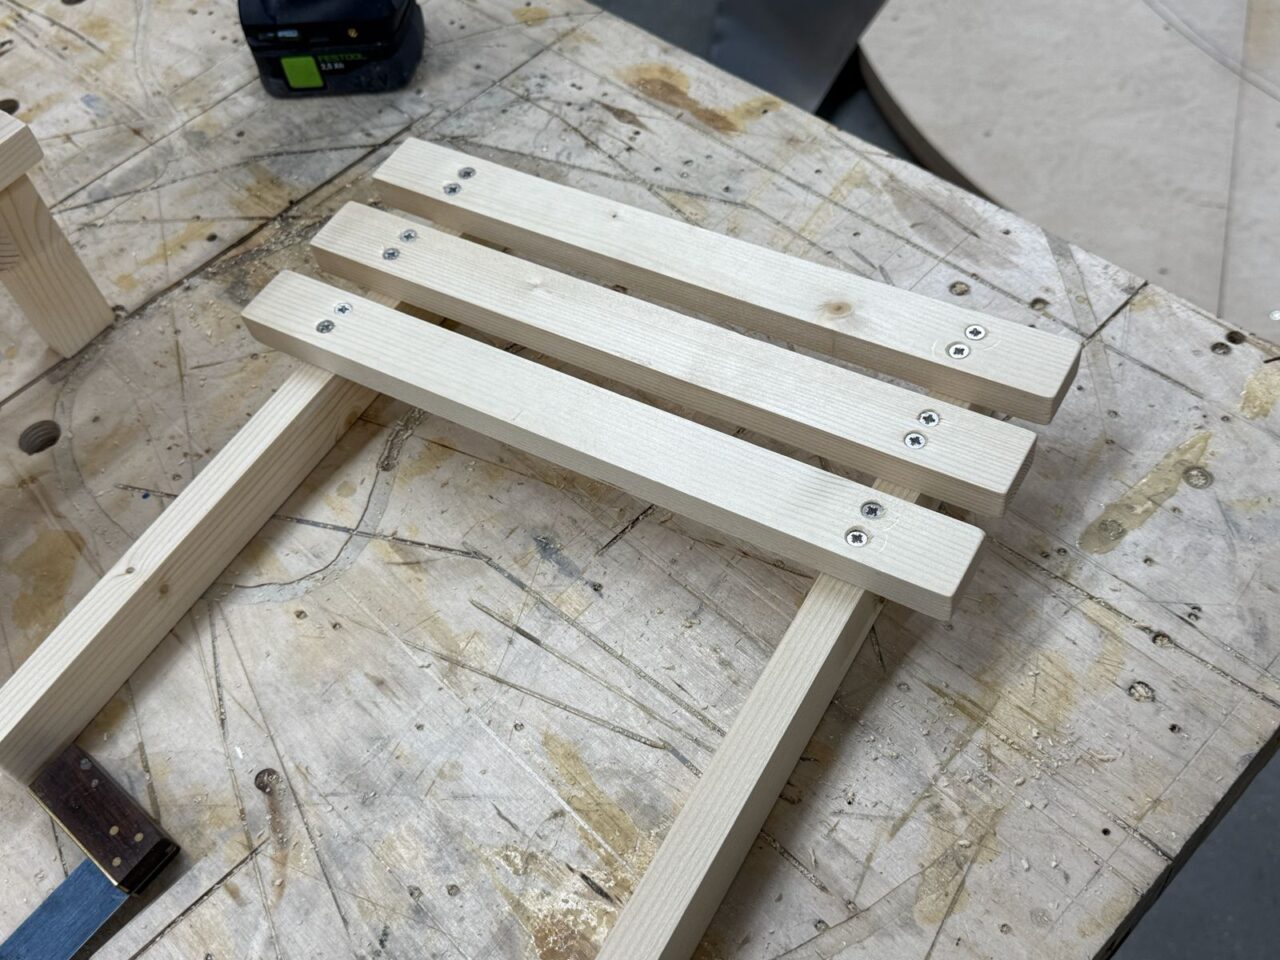
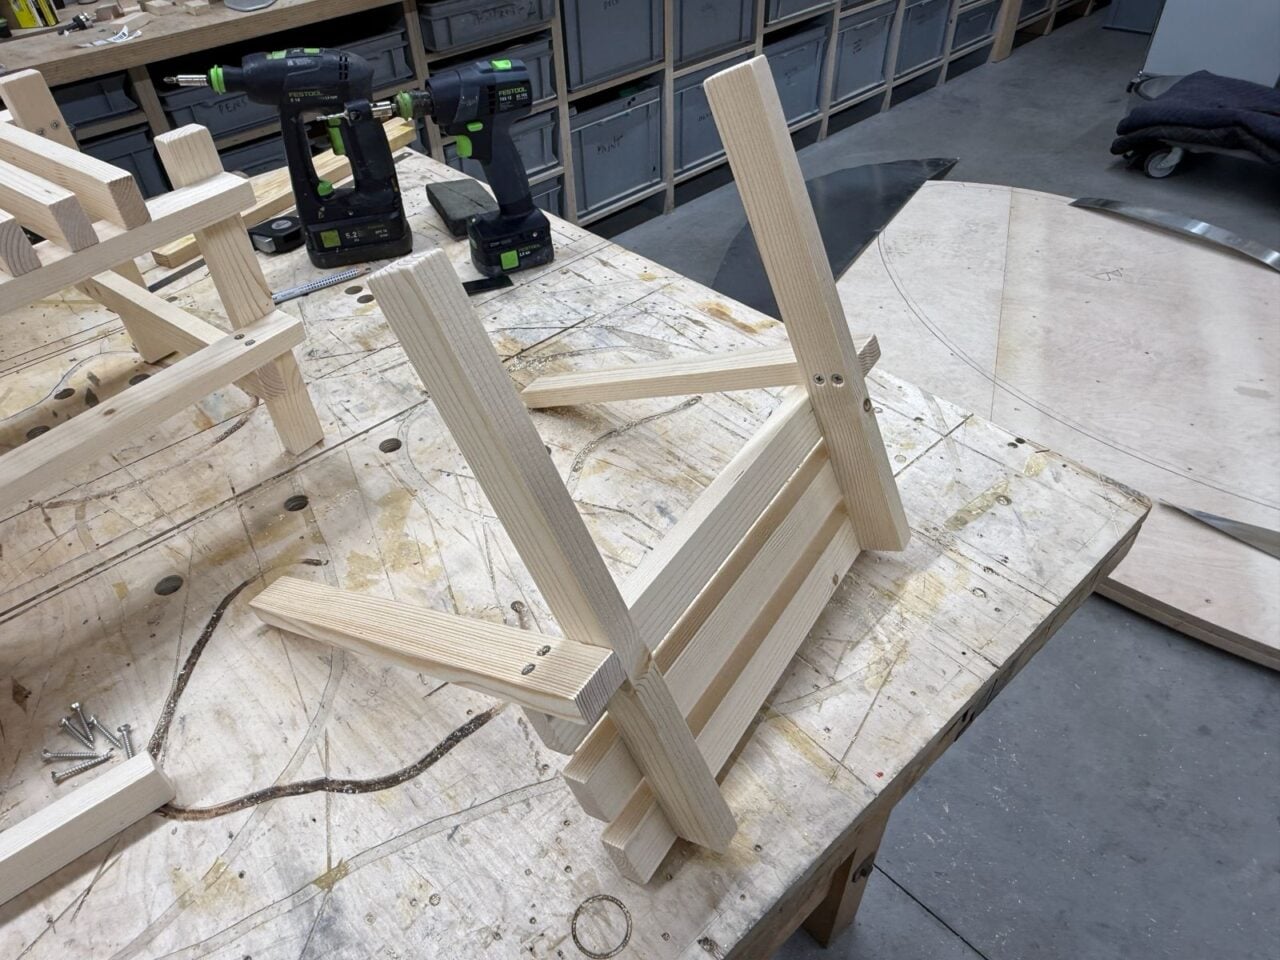
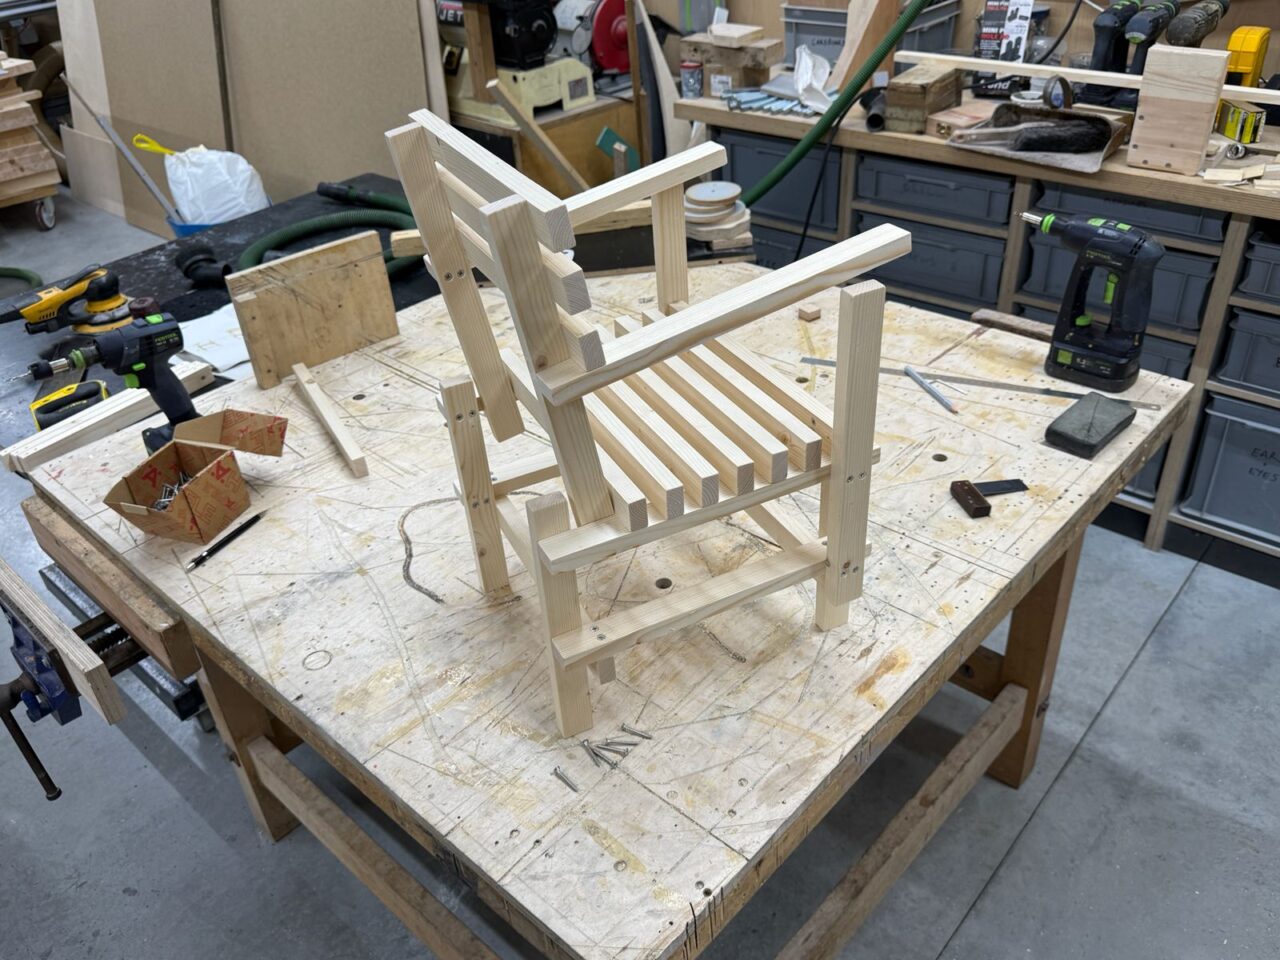
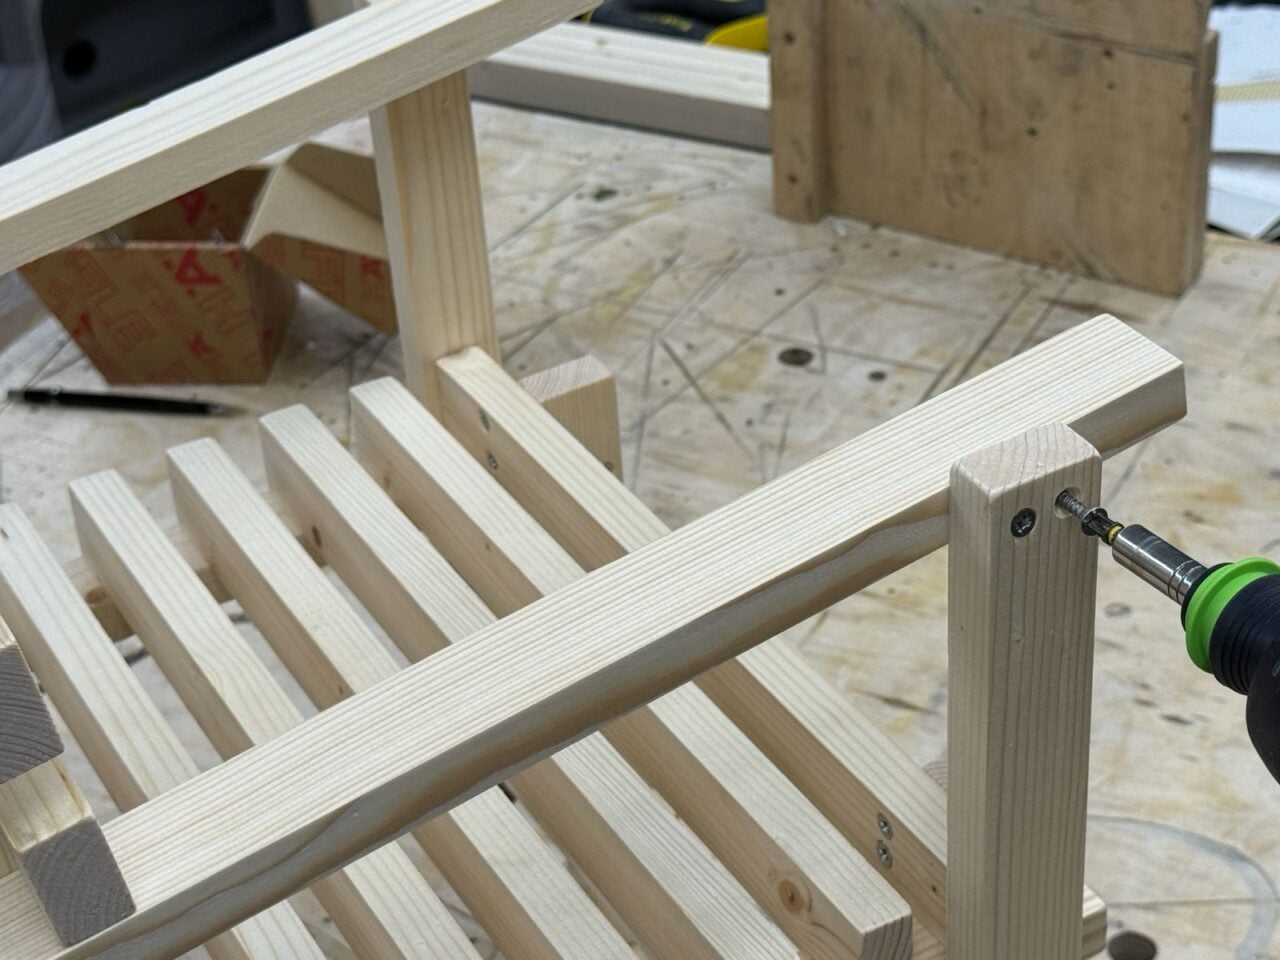
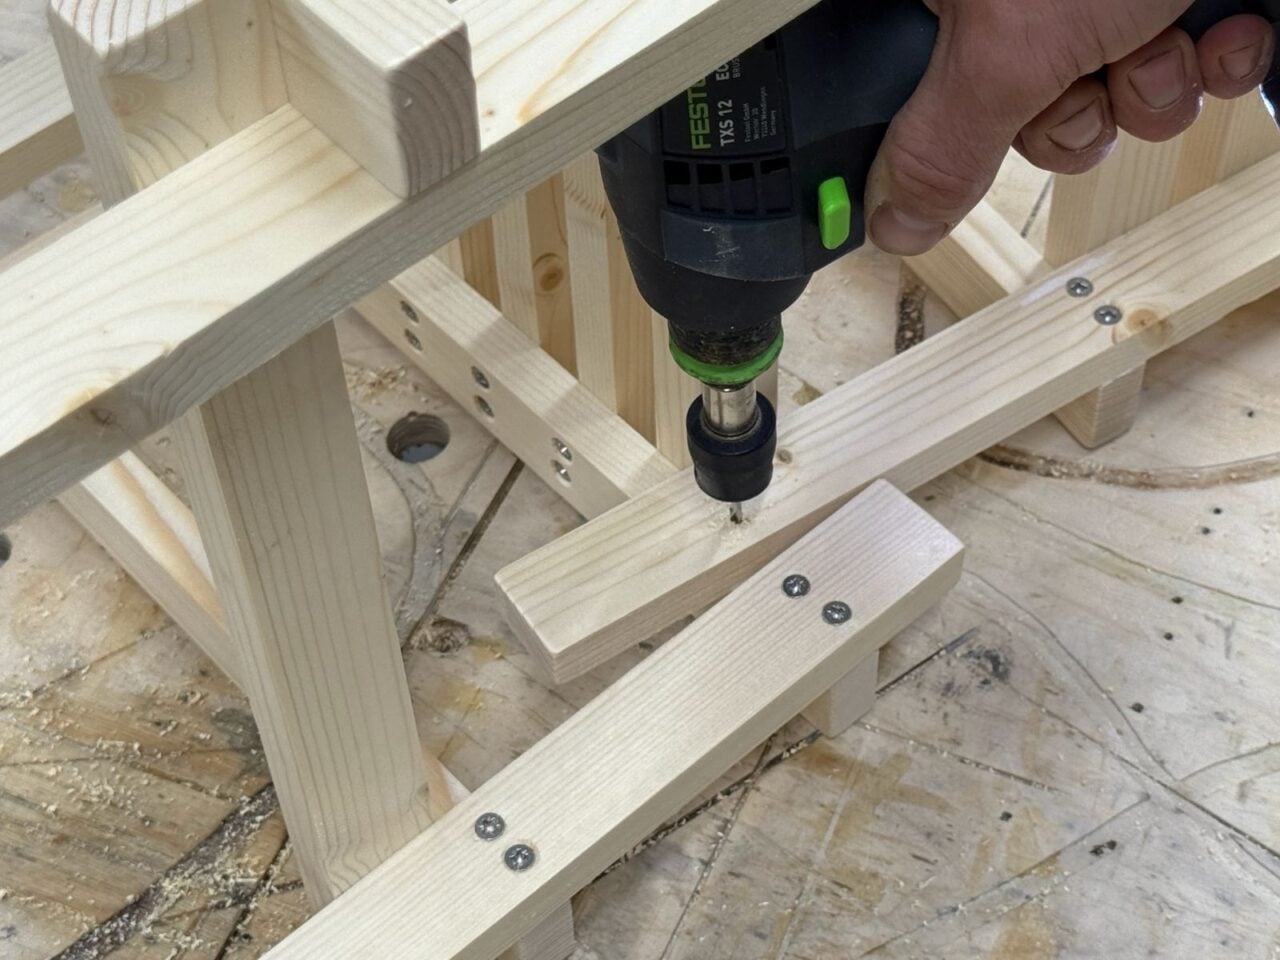
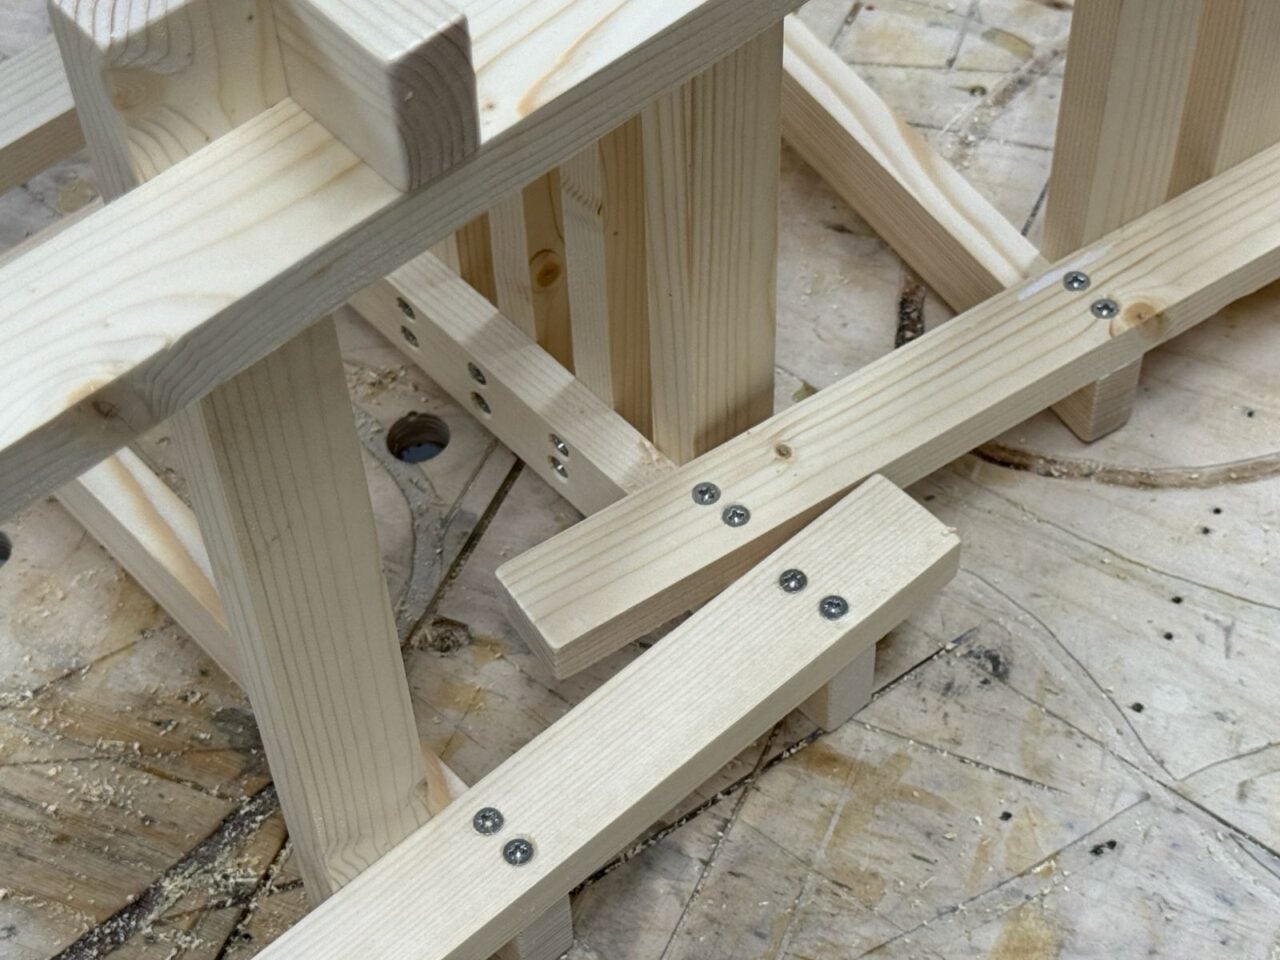
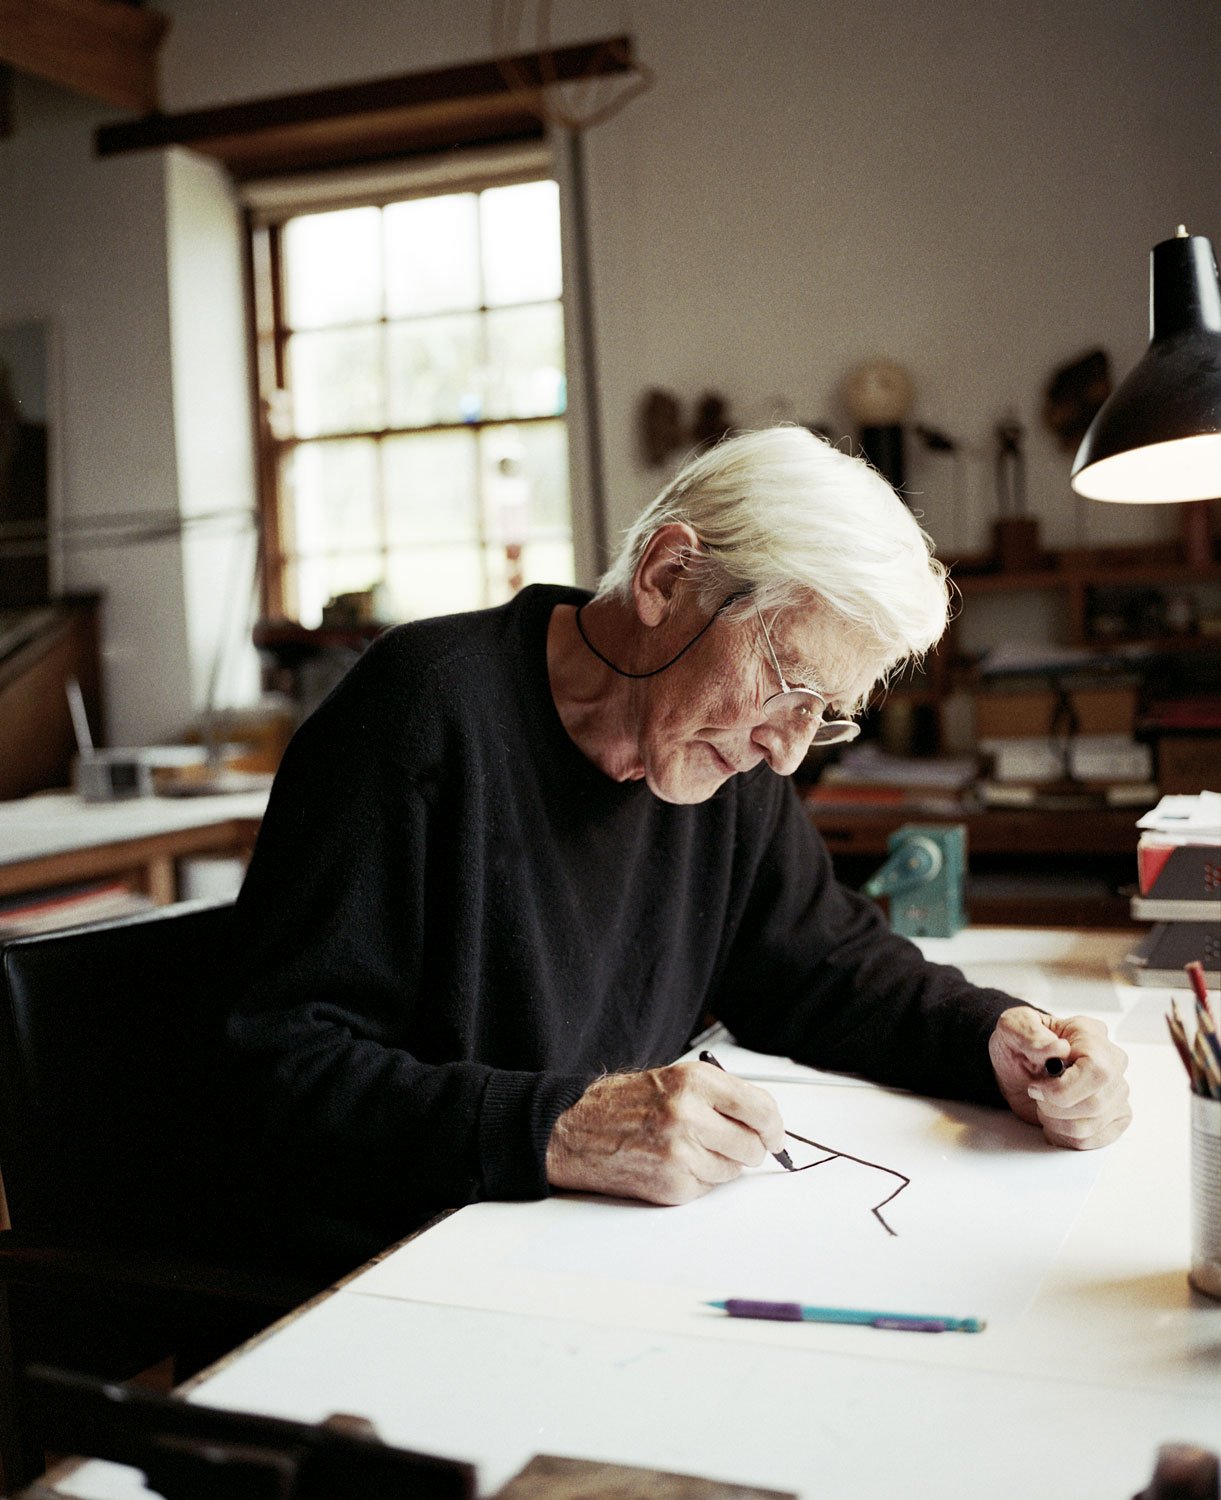
Here, Max and his son offer step-by-step instructions for creating your DIY Baby Chair. ‘I would like as many people as possible to have a go at building their own DIY Chair’, Max says in issue #37. ‘The point is, the DIY Chair is a piece of furniture that you can construct yourself, sit on, and be proud of’.

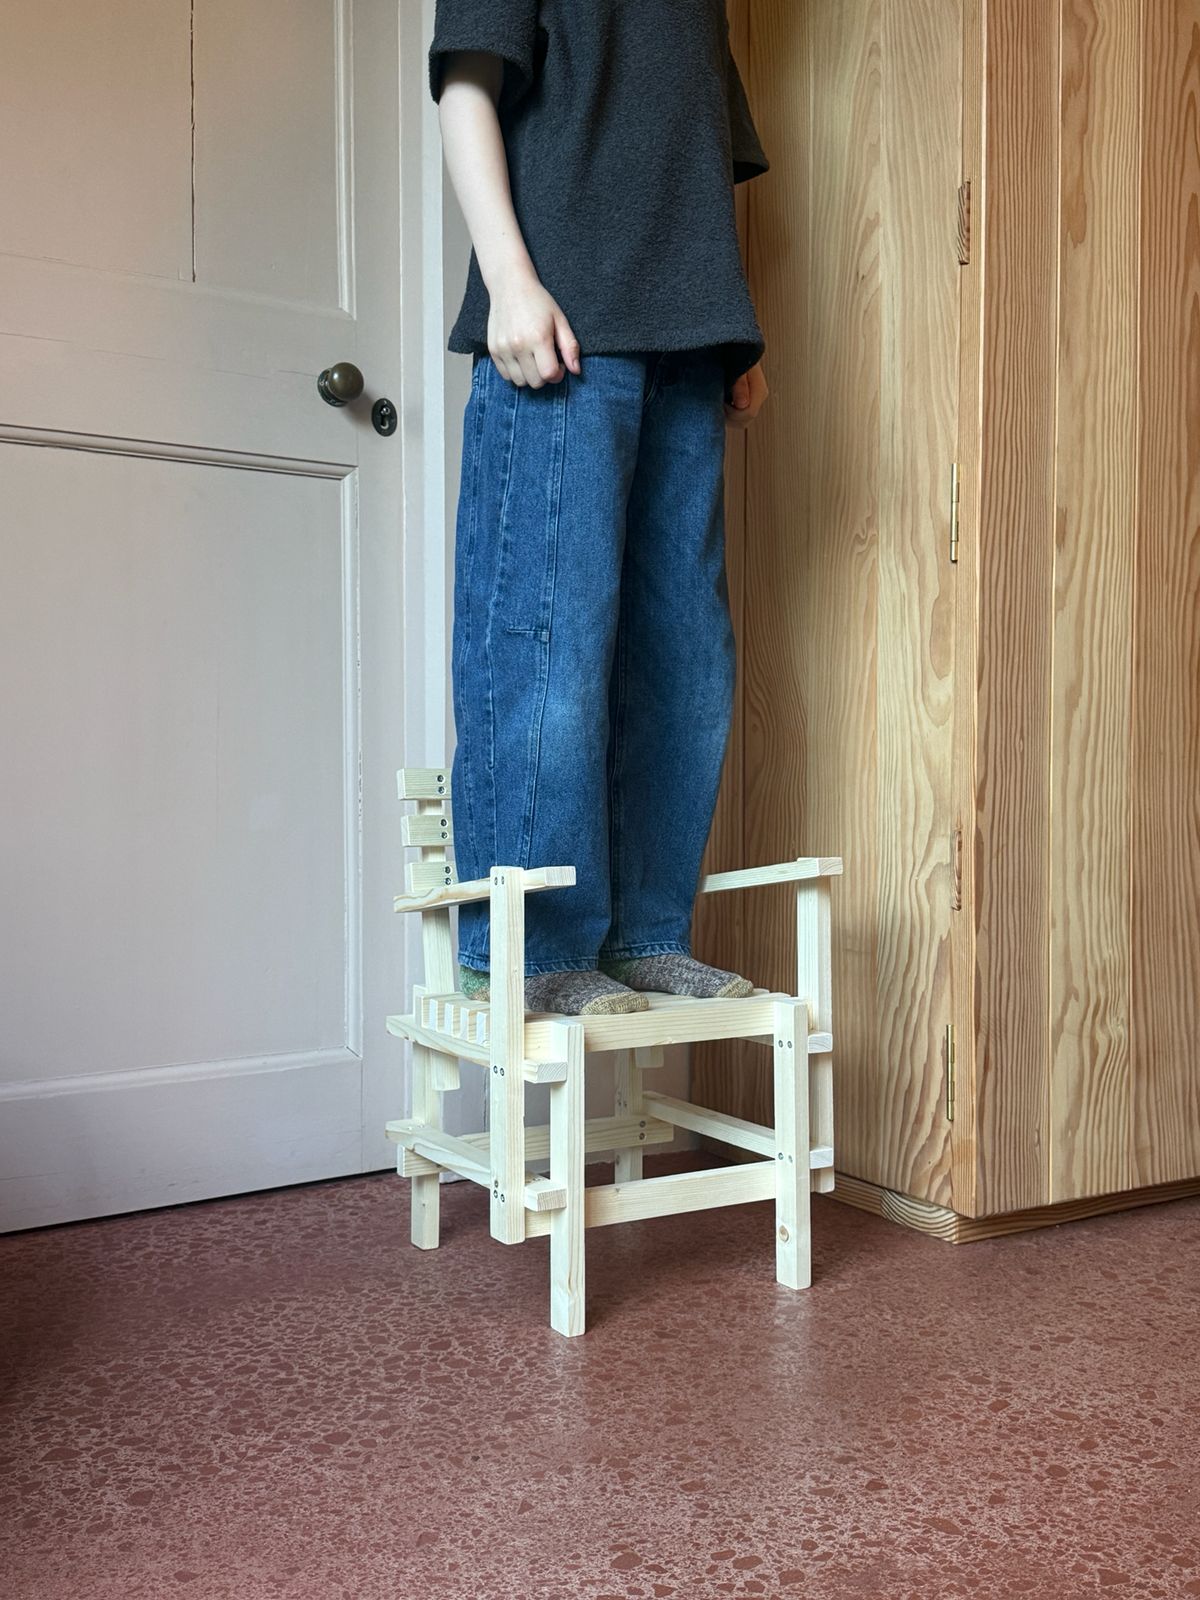
Max Lamb’s DIY Baby Chair is designed for kids, but adults should supervise assembly.

Apartamento Magazine - Max Lamb’s ‘DIY Baby Chair’

1. Tool list: tri-square, ruler, sharp pencil, fine tooth tenon or panel saw, sandpaper (180 grit is perfect), cordless drill, 3mm drill bit, countersink, cross-head screwdriver, and 124 screws (4 x 35mm).

2. Using a pencil and ruler mark a line on the first length of wood at 34cm.

Apartamento Magazine - Max Lamb’s ‘DIY Baby Chair’

3. Place the tri-square against the edge of the wood in line with the pencil mark and scribe the line across the width of the wood.

4. Carefully cut along the pencil line with the edge of the saw to the outside edge of the line, making sure you hold the saw vertically to ensure a square edge.

Apartamento Magazine - Max Lamb’s ‘DIY Baby Chair’

5. Sand the edges clean to remove splinters. 

6. Repeat steps 2-5 until you have a pile of 22 identical pieces of wood measuring 34cm long, and 4 pieces measuring 28cm long.

Apartamento Magazine - Max Lamb’s ‘DIY Baby Chair’

7. Position two pieces of wood (34cm) at right angles with the wide edge on top of the narrow edge, and use the widest face of a spare piece of wood as a measuring guide.

8. Use the tri-square to check the two pieces are at 90° and ensure the lower piece of wood is still 34mm away from the end of the top piece of wood. Hold the two pieces of wood steady and drill two vertical holes next to each other evenly spaced apart, approximately 25mm deep. Then countersink both holes.

Apartamento Magazine - Max Lamb’s ‘DIY Baby Chair’

9. Screw the two pieces of wood together. If possible, set the clutch of your drill so that it automatically stops when the screws are tight.

10. Rotate the two joined pieces of wood so the lower piece stands vertically. Place one of the 28cm long pieces overlapping the other two ensuring its end is flush with the edge of the vertical piece.

Apartamento Magazine - Max Lamb’s ‘DIY Baby Chair’

11. Drill, countersink, and screw the third piece of wood using two screws, as in steps 8 and 9. Repeat adding two more screws through the face of the vertical piece of wood to form a perfect right-angled corner held together with 6 screws.

12. Join a second piece of wood to the opposite end of the horizontal rail, ensuring the two vertical pieces are both 28cm long. These will be the front legs.

Apartamento Magazine - Max Lamb’s ‘DIY Baby Chair’

13. Keeping the frame upside-down lay an additional 12 lengths of wood (34cm) stacked side-by-side up against the front rail. Six of them will be seat slats, the other six are acting as spacers. Hold them together tightly and drill two holes through the side rails at each end of every other slat. Try to drill the holes through the centre of the slat below. Once drilled, countersunk, and screwed together you can remove the spacers.

14. To add the rear legs, take the last two 28cm long pieces of wood and drill and screw them to the opposite ends of the side rails, using the tri-square to make sure they will be nice and vertical.

Apartamento Magazine - Max Lamb’s ‘DIY Baby Chair’

15. Stand the frame upright and you should have a total of 7 seat slats across the top surface of the frame. This is the seat of your DIY Baby Chair.

16. Create a new square frame using four pieces of wood. Place the two lower pieces on their thin edge and the other two adjacent on top on their wide edge. Use a spare piece of wood as a measuring guide so the two upper pieces overhang by 34mm.

Apartamento Magazine - Max Lamb’s ‘DIY Baby Chair’

17. Using eight screws, join the four pieces of wood together into a square frame. Remember to check they are at right angles. This frame will be used to support the four chair legs.

18. Slide the support frame up the legs of the original frame and use the width of three pieces of wood as a spacing guide before drilling, countersinking, and screwing the frame permanently to the four legs.

Apartamento Magazine - Max Lamb’s ‘DIY Baby Chair’

19. Sixteen screws should be used to attach the support frame—two screws though every wide edge of the wood—four per corner.

20. The base frame of your DIY Baby Chair should now look like this.

Apartamento Magazine - Max Lamb’s ‘DIY Baby Chair’

21. Turn the chair frame onto its side. Place a piece of wood towards the front of the chair parallel with the leg but pointing in the opposite direction. It is roughly centred on the front seat slat. See picture for exact position.

22. Join the vertical piece of wood to the frame using four screws—two through the seat side rail, and two through into the side rail of the support frame below.

Apartamento Magazine - Max Lamb’s ‘DIY Baby Chair’

23. These two pieces of wood form the vertical supports for your armrests.

24. Begin the backrest. Repeat steps 7-9 to create a right angle with two pieces of wood. The upper piece should overlap the lower by 34mm (the wide edge of the wood) which can be found by using a spare piece of wood as a guide. Repeat this on the opposite side.

Apartamento Magazine - Max Lamb’s ‘DIY Baby Chair’

25. Add two more slats for the backrest, using two spare pieces of wood on their thin edge as spacers.

26. The backrest will have three horizontal slats with their flat faces outwards and 18mm gaps in between.

Apartamento Magazine - Max Lamb’s ‘DIY Baby Chair’

27. To make the armrests flip the backrest upside down and add the last two pieces of wood to the underside of the bottom backrest slat and on the outside of the verticals. Join using four screws—two screws through the wide edge of the vertical piece into the side of the armrest, and two screws through wide underside edge of the armrest into the underside of the bottom backrest slat.

28. This completes the back and armrest of your DIY Baby Chair. You now have a seat assembly and a backrest assembly.

Apartamento Magazine - Max Lamb’s ‘DIY Baby Chair’

29. To join the two assemblies together, take the back and armrest section and slide the two vertical pieces of wood through the large gap in between the last seat slat and the rear legs. Tilt the backrest backwards as far as it will go within the gap and slide it up or down until the front ends of the armrests are in contact with the vertical armrest supports.

30. Once positioned drill, countersink, and screw each armrest into the front verticals using two screws per side. Note the armrests will be angled slightly and the holes you drill should follow the same angle.

Apartamento Magazine - Max Lamb’s ‘DIY Baby Chair’

31. Using your final four screws join the two vertical pieces of wood of the backrest to the inside of the chair frame.

32. The final assembly will look like this.

Apartamento Magazine - Max Lamb’s ‘DIY Baby Chair’

33. Your DIY Baby Chair is now ready for sitting on!

Apartamento Magazine - Max Lamb’s ‘DIY Baby Chair’
The product is being added to cart!
Apartamento Magazine
Privacy Overview

This website uses cookies so that we can provide you with the best user experience possible. Cookie information is stored in your browser and performs functions such as recognising you when you return to our website and helping our team to understand which sections of the website you find most interesting and useful.